GVSU Lightboard Build
Inspiration
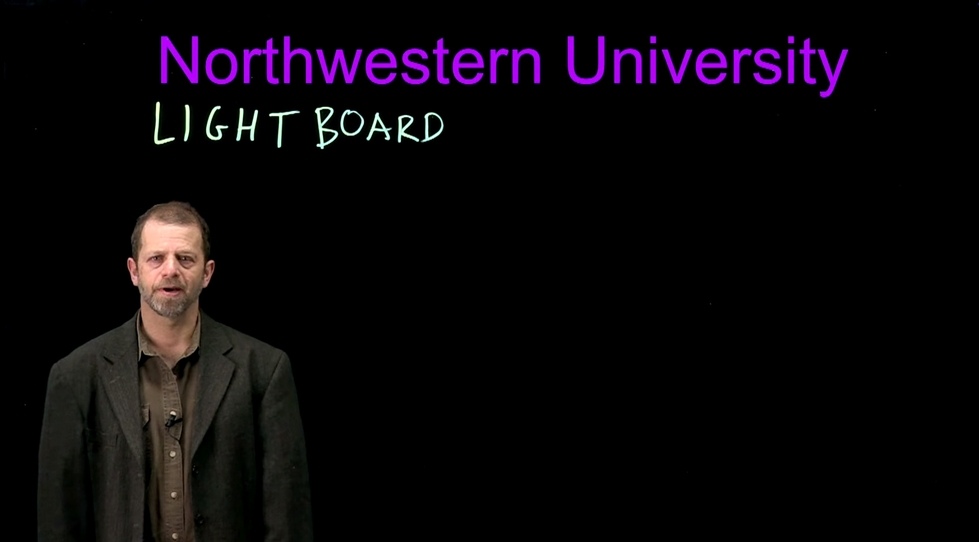
Our first exposure to the concept of a lightboard came from Michael Peshkin at Northwestern. From that example we then discovered the lightboard that was created by Duke University. This lightboard is largely based off of these concepts with a few alterations to fit our needs.
Frame
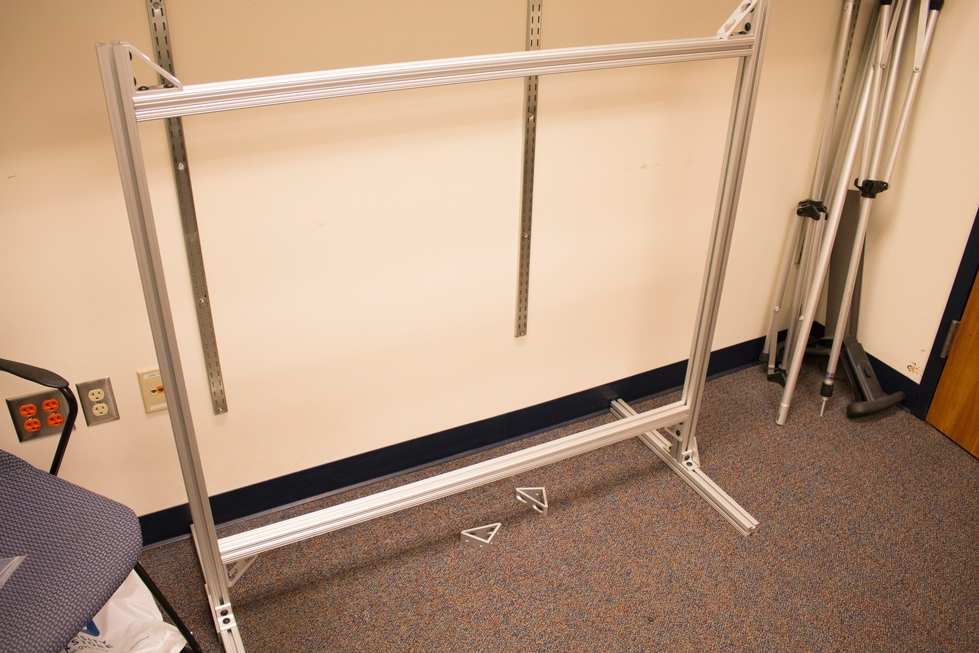
When creating the frame the first step was to decide what size of lightboard would best meet our needs given the space we had. After finally deciding on a 4x3 foot board we then decided to use 80/20 aluminum extrusions to create the frame based on the recommendation of Duke University as well personal experience with the product. While constructing we found that using the extrusions to build the frame was very easy and offered a lot of versatility in terms of the options we had to build a frame to meet our needs. In addition to the extrusions we also used 80/20's "t-slot fillers" to bring some color to our lightboard while at the same time using them to hide the wiring and other electronics when possible.
Glass
Sourcing the glass for the lightboard ended up being one of the more difficult facets of the build. After calling to a few local distributors we ended up being able to purchase a 1/5in thick 4x3 piece of low iron glass with 4 holes for mounting. The decision to go for low iron glass was based on the recommendation of others who said that it was needed to increase the clarity of the glass when being viewed through a camera lens.
Glass Mounting
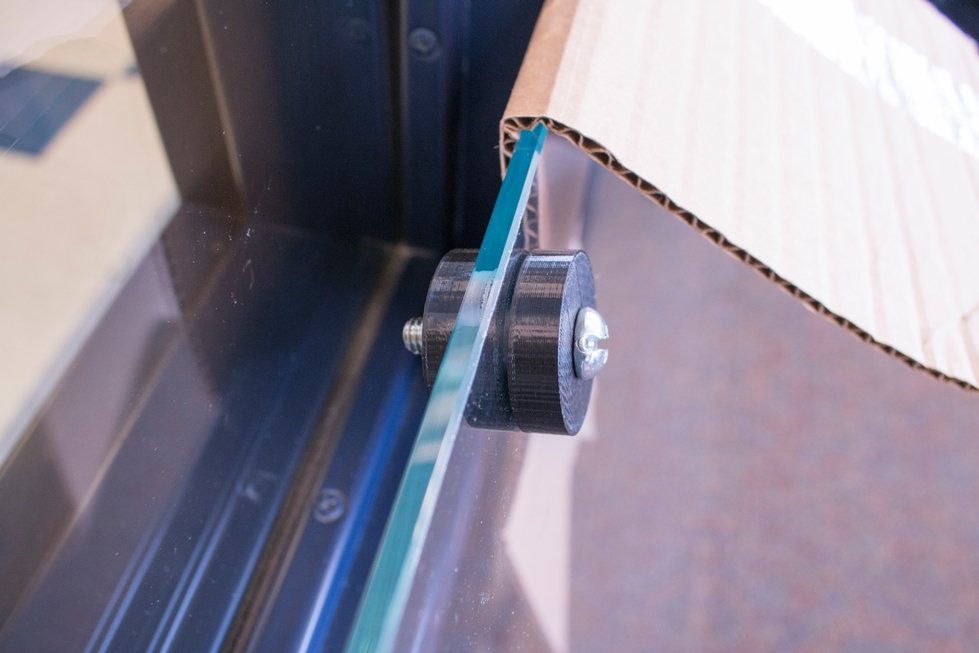
One of the most difficult portions of this project was figuring out a method to mount the glass to the frame. To do this we used a slightly modified version of the 3d printed stand-offs created by Duke. Before mounting we super glued the stand-offs in the holes in the glass and then slowly lowered the glass onto the frame, doing our best to line the stand-offs up with the nuts that were in the slots in the extrusions. Once everything was lined up we then inserted the bolts through the stand-offs into the nuts, separating the head of the bolts by a rubber gasket in order to protect the the plastic stand-offs.

Lighting
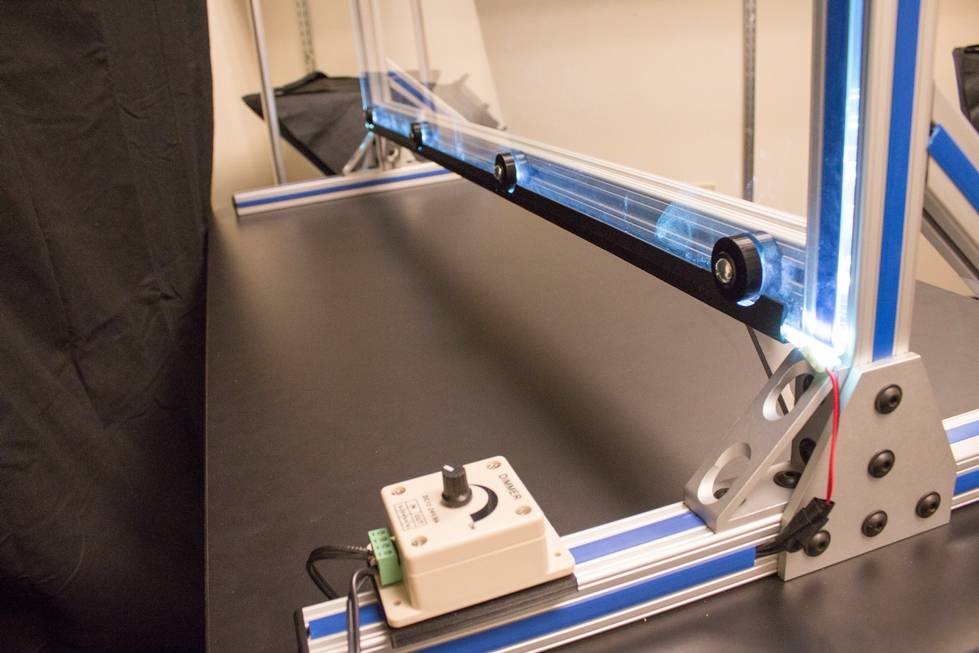
To create a solution to mount and wire up the LEDs that are on the edge of the board. For the mounting piece of this issue luckily we were able to slightly alter the LED clips that were created in the Duke Lightboard project. Finally to wire everything together we used basic lamp wire that we did our best to keep hidden within the aluminum extrusions. Finally, the power supply was mounted to the bottom of the Airtouch table which was done to hide as much of the unnecessary parts of the lightboard.
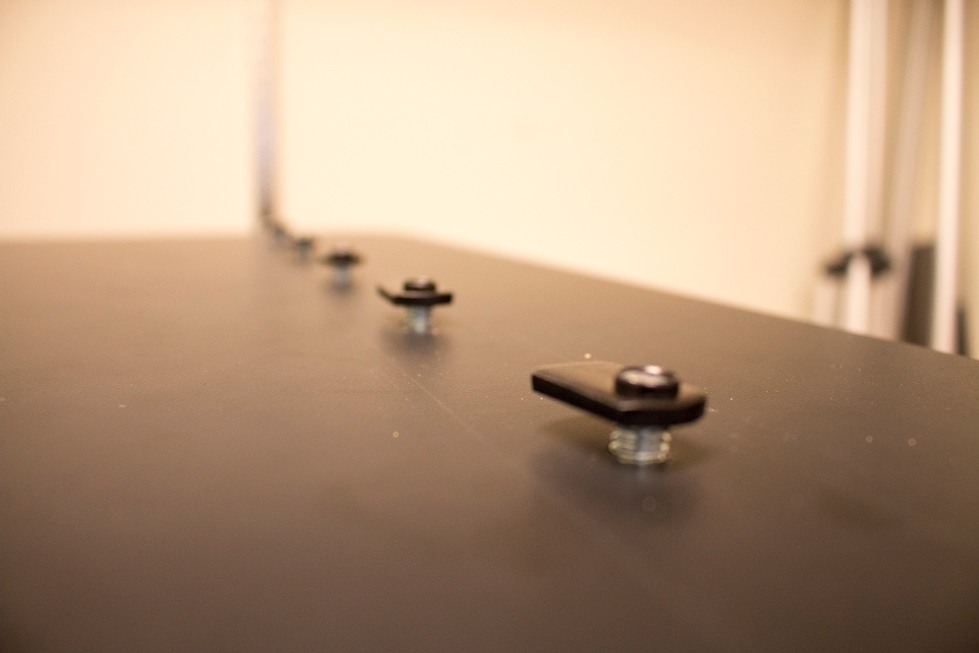
Table Mounting
The final part of the lightboard puzzle involved mounting the lightboard to a Steelcase Airtouch table. We chose this table because it is height adjustable which allows faculty of various heights to use the lightboard either standing or sitting. In order to mount the lightboard we had to drill holes through the table top and align bolts with the t-nuts in the bottom of the 80/20 extrusions.
Special Thanks
- GVSU Atomic Object Technology Showcase
- Eric Kunnen, Associate Director of eLearning and Emerging Technologies
- Matt Roberts, Instructional Designer, IDeL
- Allen Fredrick, Graduate Assistant, eLearning and Emerging Technologies
- Paul Wilson, Emerging Technologies Specialist, Technology Showcase
- Brook Staley, Emerging Technologies Specialist, Technology Showcase
Documentation
3D Printing Files
3D files are based of models created by Duke University.