Header Images
Header Images
A header image is the large visual element that appears at the top of a webpage. It sets the tone for your content, draws attention, and helps users quickly understand what your page is about. A strong header can improve engagement, reinforce branding, and create visual consistency across your site.
In CMS5, headers are now built using the same node editor used for other content pages. This change allows for greater flexibility and consistency in how header images are created and styled across your site.
To get started, navigate to the Headers section from the left-hand menu and click the green + New Header button.
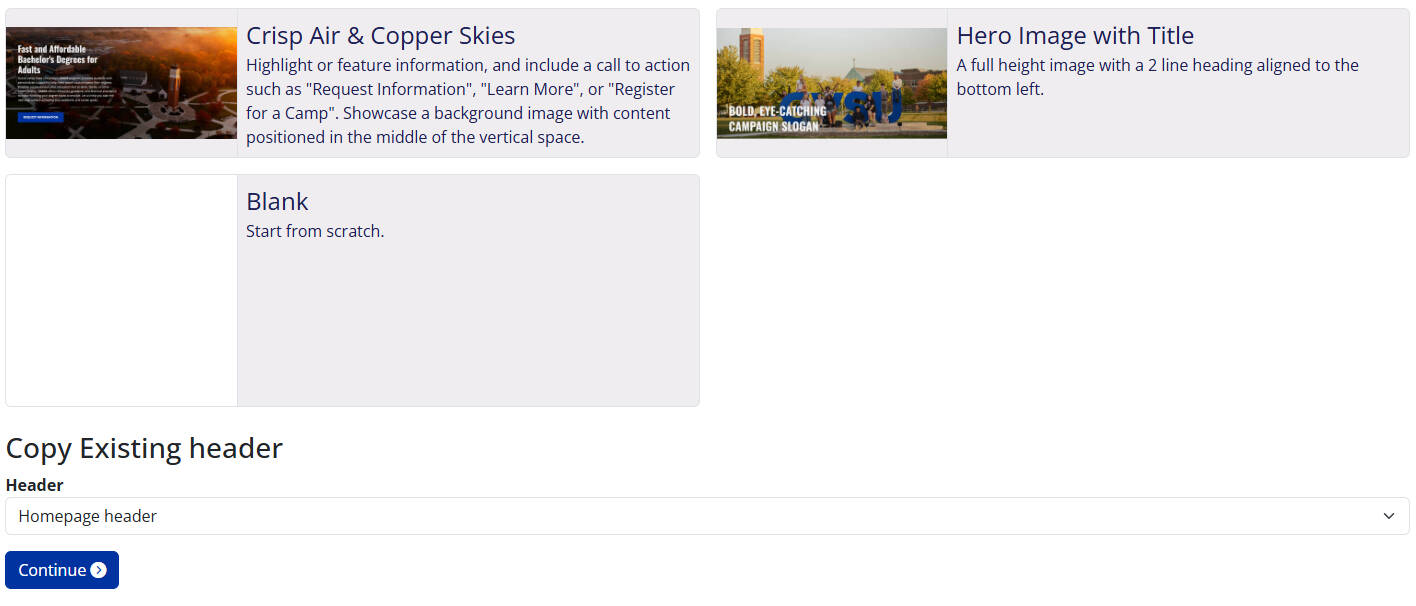
When creating a new header, you’ll have three options based on how you want to start:
1. Use a Premade Template
Choose from a selection of visually appealing header templates created by the Web Team. These templates are designed to engage audiences and follow university branding best practices. You’ll need to update the copy and images to make the content specific to your site.
2. Build from Scratch
Start with a blank node editor and design your own header image. You’ll add chunks and modules manually to build out the content you need. Refer to our Node Editor Guide for help using different chunk types and layouts.
3. Duplicate an Existing Header
If you already have a header you like, you can duplicate it and make edits. This is useful for reusing layouts across multiple pages or sections of your site. After duplication, open the header in the node editor to customize it.