Multi-Factor Authentication
How to Set-Up Multi-factor Authentication Before You Go
GVSU IT has created a guide for how to set up Multi-factor Authentication.
The steps listed below show how to add MFA to your account. This process can be used when you want to change your MFA settings or add a new device. In the screenshot, we use Okta Verify as an example because Okta Verify allows push notifications, which makes signing in a lot easier than receiving an SMS code or launching Google Auth to type a code.
STEP 1
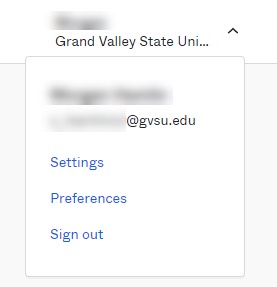
Sign in to Okta, in the upper right-hand corner click on your name and from the drop down menu click on "Settings".
STEP 2
[1738615030].jpg)
Click on either "Security methods" on the left hand side or "Manage security methods" in the middle of the screen.
STEP 3
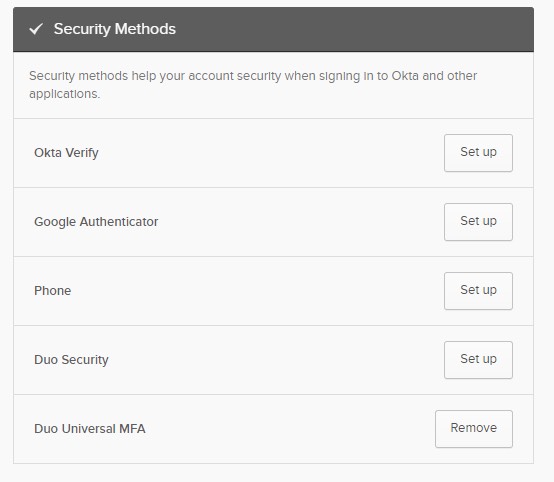
Click "Set up" next to the MFA you want to configure. In the screenshot below we use Okta Verify as an example.
STEP 4
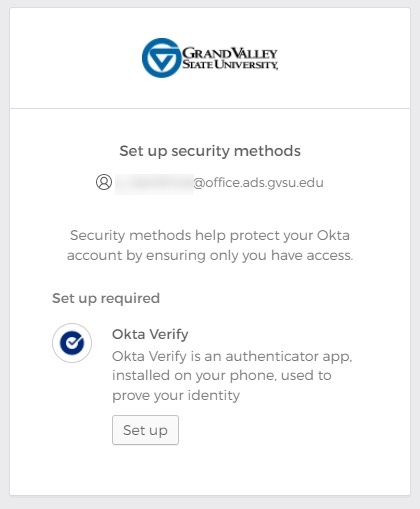
Click "Set up" and follow instructions provided by your MFA option
STEP 5
[1738692852].jpg)
Follow the prompts for your specific MFA app. Below is an example of the Okta Verify application. Once the QR code is scanned you have successfully completed adding your MFA.