Downloading and Install Junos Client �Pulse Secure
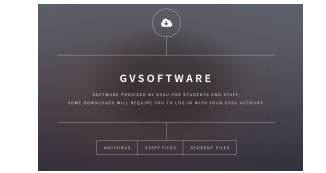
- From your web browser go to gvsoftware.gvsu.edu And you get the page below:
2. Select Student or Staff/Faculty links and then choose your version of Pulse Secure (Mac, 32 bit Windows, 64 bit Windows, Red Hat/CentOS, Ubuntu/Debian)
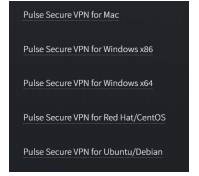
3. Use your GVSU network credentials to sign in and begin the download
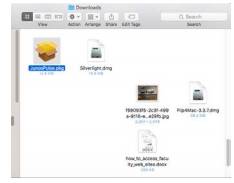
4. Find the downloaded file and double click to start Install:
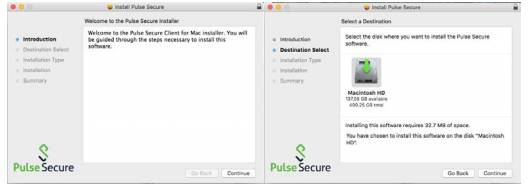
5. Click on Install to start:
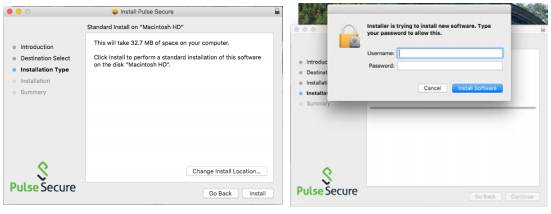
6. Enter your Macs login username and password when asked 6. It will run through install and then indicate it has finished

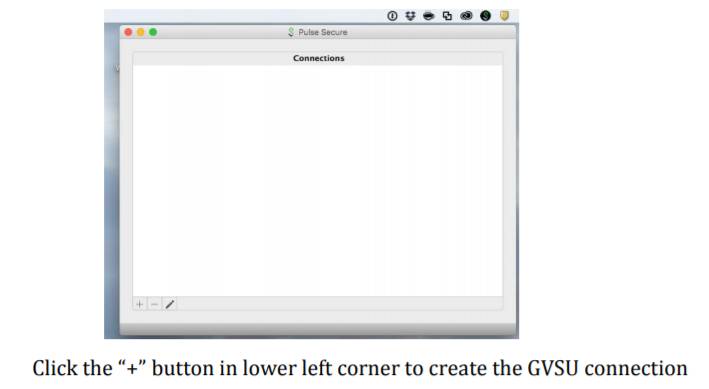
7. Open your hard drive, go to Applications, and open Pulse Secure y Name Is Khan The following screen will appear:
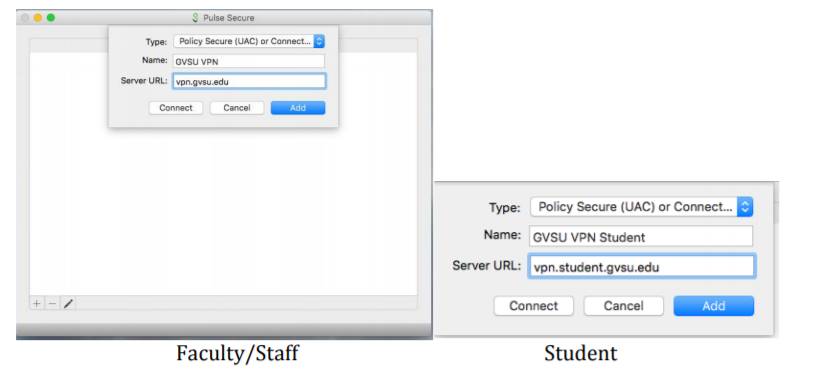
8. Fill out the Name and Server URL just as listed below then click Add
9. Now you have a connection setup that you can use to Connect or Disconnect
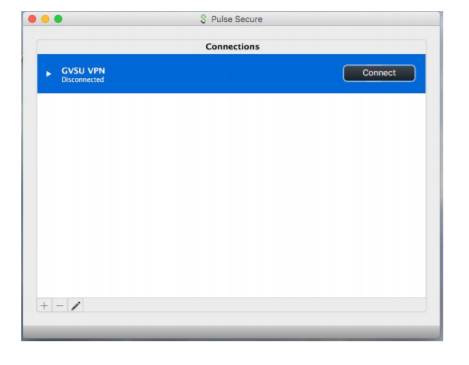
10.. When you click on the Connect button. You are prompted for your UserName and password (same as Outlook & Blackboard)
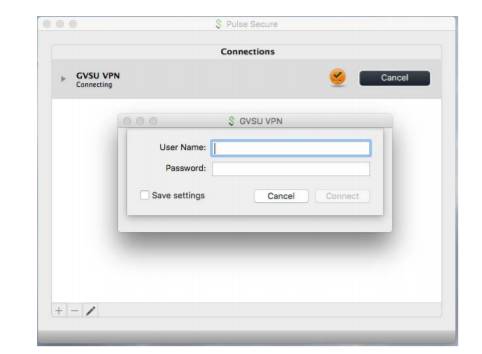
11. After it validates you see the green check circle icon appear by the Connect/Disconnect button
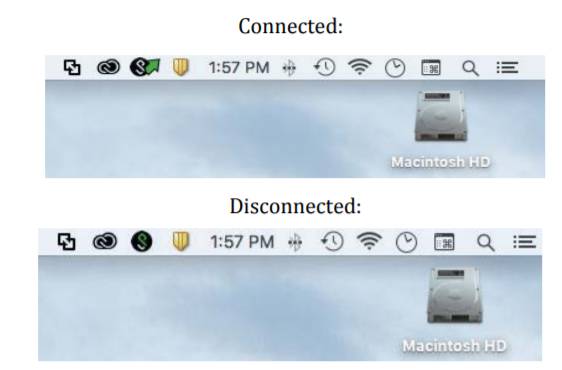
12. Finally after you have launched the Application the first time, you will now have a new menu bar item for Pulse Secure. From there you can Connect or Disconnect your GVSU secure setting.

12. The icon shows Connection status