Blog
Permanent link for Physical Activity & Beyond! on February 22, 2024
Physical wellness is just part of the wellness wheel, but a super important one! With spring around the corner, it is a great time to get outside to get some physical activity!
What is physical wellness and physical activity?
Physical wellness is about making positive choices to maintain a healthy body! Healthy looks different for everybody, but one way to make a positive choice for your body can be through physical activity! The WHO states that physical activity is any physical movement that engages your muscles while exerting more energy than you would while resting.
Why is physical activity important?
According to the WHO, Physical activity can help mitigate and manage different health risks. Some of these include heart disease, stroke, diabetes, numerous cancers, and hypertension. Physical activity can also be good for enhancing mental health, maintaining a healthy body weight, bettering balance and sleep, and improving overall well-being and quality of life.
What is the recommended amount of physical activity to get as an adult?
The WHO recommends that adults between the ages of 18-64 should get between 150–300 minutes of moderate-intensity physical activity or between 75-150 minutes of vigorous-intensity physical activity a week or some combination of the two. This rounds out to be about at least 20 minutes of moderate-intensity physical activity a day or at least 10 minutes of vigorous-intensity physical activity a day each week. The WHO also suggests that this age group should do moderate-intensive muscle-strengthening activities of all major muscles at least 2 days a week and be conscious of how much time is spent being sedentary.
What are the different ways you can be physically active on campus and beyond?
Recreation and Wellness offers many opportunities for students to get physically active and involved, including the Climbing Center, UFit plan, Intramural Sports, Club Sports, Personal Training, Group Exercise classes, Swim Lessons, and more! Athletic and Recreation Facilities also offers Open Swim hours at the pool, Racquetball Courts by reservation, Open Recreation Center hours to get a workout in or play basketball on the basketball courts, Open Turf/Track hours at the Kelly Family Sports Center to throw around a frisbee, play spikeball, or run on the track! And most of these activities are free for students or are discounted!
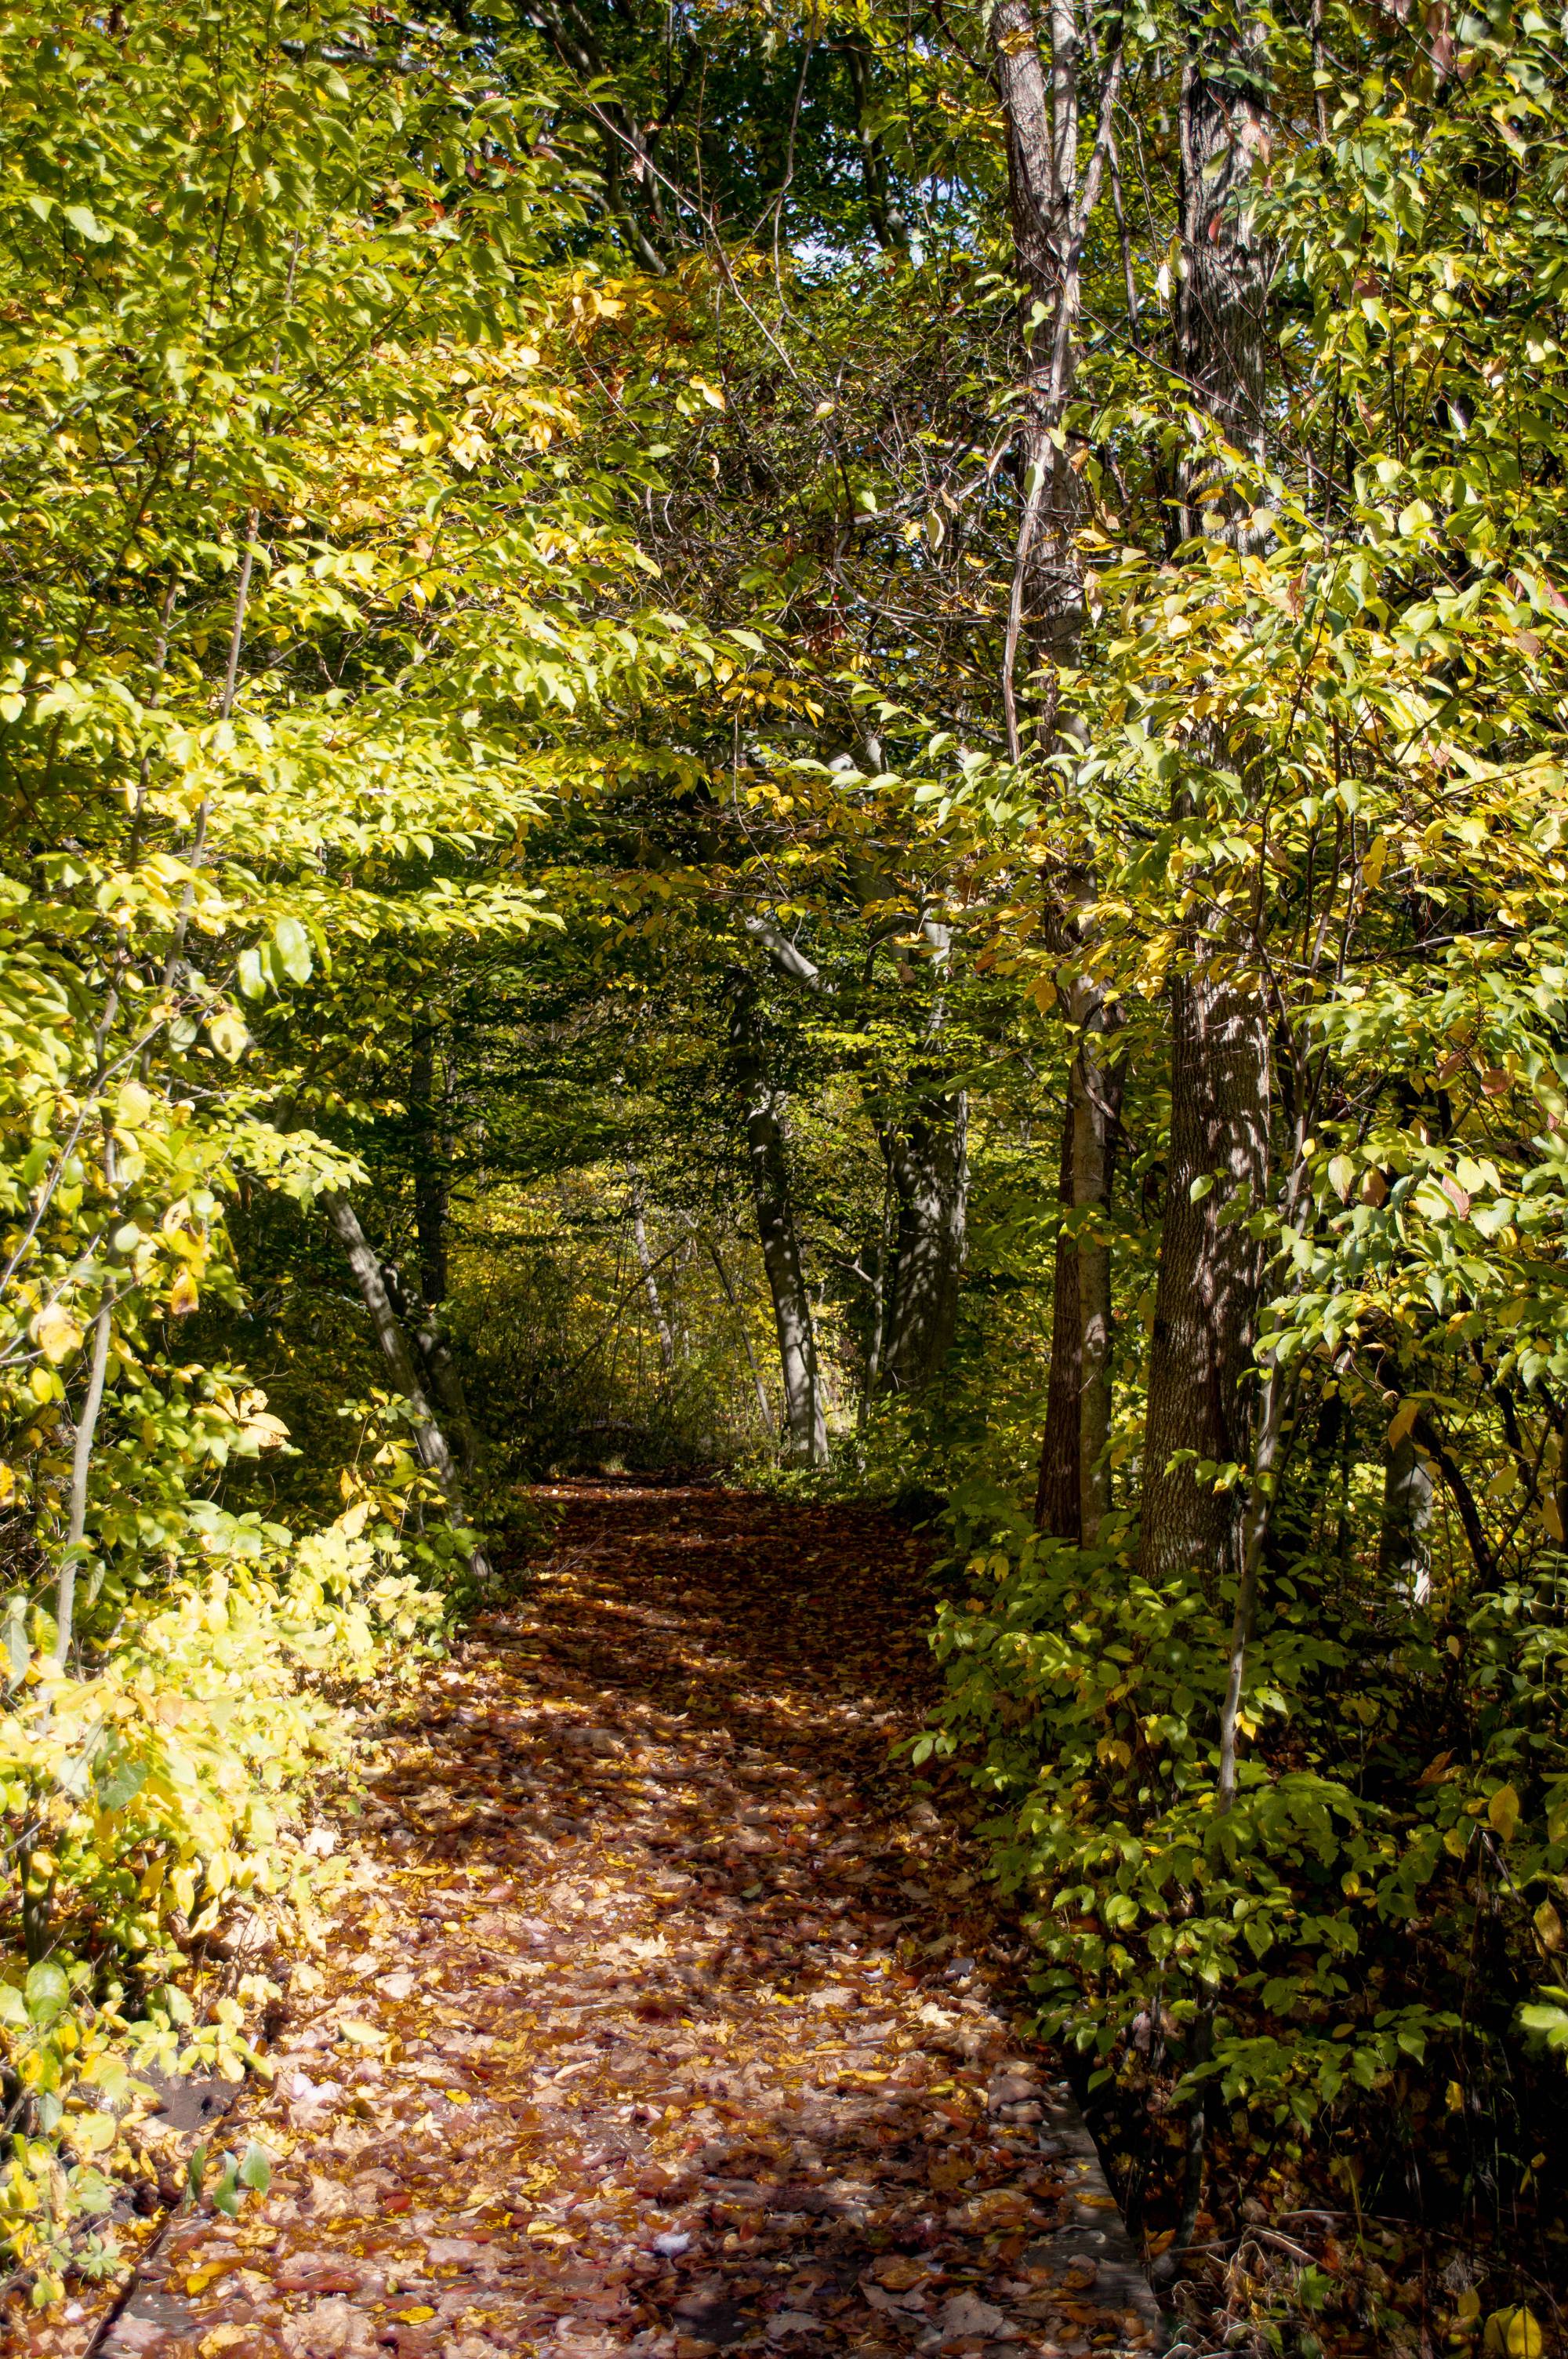
Have you ever heard of Ottawa County’s Parks?! Grand Valley is surrounded by them! There is one within walking distance of Grand Valley! Take a friend, a dog, or yourself on a walk, run, or bike ride to get some physical activity at Grand Ravines North. Not too far from this entrance is Grand Raives South, which has a dog park and a suspension bridge! If you’re looking for other parks to get some physical activity, look no further than Grand River Park or the Grand River Open Space, which provides trails and serenity within a 10-minute drive from campus!
There are many ways of getting physical activity indoors on campus and in the great outdoors surrounding campus! Physical activity is a positive way of taking care of your physical wellness to maintain a healthy body! Remember to do what is healthy for you, as healthy looks different for everybody, and be safe while performing physical activity, too!
By: WIT Peer Educator, Ru
Ravines Trail
Categories:
Fitness
General Wellness
Outdoor Adventures
Press Pause
Rest
Posted
on
Permanent link for Physical Activity & Beyond! on February 22, 2024.
Permanent link for Press Pause... and Get Outside! on April 7, 2023
It is that time of the school year again for finals, but don’t let studying take up too much of your time! It is important to balance school and time for yourself. The flowers are blooming, the sun is shining, and the birds are calling your name! But don’t forget to wear sunscreen!
What the outdoors can do for you!
- Helps motivation and physical health
- Lowers stress and anxiety levels
- Improves sleep
- Stronger immunity
- Supports positive mental health
- Better breathing and sight
Tips for getting outside!
- Make plans with a friend
- Block an hour out of your schedule
- Set a time limit for studying
- Make a reminder
Things to do outdoors on campus!
- Hammock in the arboretum
- Go hiking on the trails behind campus or near Laker Village
- Set up a slackline with a friend
- Have a picnic
- Play sand volleyball
- Read a book or make friendship bracelets on a blanket
- Eat lunch with a friend on a bench
- Ride your bike
- Take a nap under a tree
- Go on a scavenger hunt
- Roller Skate or skateboard on the sidewalks
- Set up your yoga mat in the sun
The outdoors improves your overall health! There are many ways to get outdoors on campus. And remember to treat the outdoors with kindness. We want our favorite places to last a long time!
By: Ruhi Khanna, WIT Peer Educator and Climbing Center Staff
.jpg)
Categories:
General Wellness
Outdoor Adventures
Press Pause
Rest
Posted
on
Permanent link for Press Pause... and Get Outside! on April 7, 2023.
Permanent link for Hiking: A Minute of Planning Can Save You Hours of Doing on April 20, 2021
You found the perfect trail, but you're not sure what to take? Packing the “essentials'' - plus a couple of other things - will ensure your trips go as planned, and more importantly, you are prepared for whatever the trail may throw at you - including getting lost, a storm, or even (but hopefully not!) an injury on the trail. Even though it may seem unnecessary in the moment, packing the correct items can potentially save your life if things go astray. When packing for hiking it's important to pack not much more than the essentials to avoid increasing weight in your backpack too much. The hardest part is finding the perfect balance between what's necessary and what would end up taking up space and weight. Much of what you bring is determined by the length and location of the hike. For example, a short hike (1-3 miles) may require little gear and can be done without a pack at all, and longer hikes (5-10 miles) may require much more.
There are an unlimited number of factors to consider before setting something into your pack. The crowdedness of the trail, for example, could determine whether or not you bring a source of fire and shelter -there could be fellow hikers there to help in case of an accident. A trail map or map of the area will be of enormous help if you find yourself lost. Most trails will have the map posted at the trailhead,snapping a quick picture with your phone can help you remember where to go. Ultimately it's up to you (the hiker) to decide what to bring, but there are some items that should be heavily considered.
Backpack
Aside from food and water, the most important piece of gear to
bring on the trail is a backpack. It will hold all your gear and keep
your hands free when hiking on difficult terrain. Whether you are
selecting an existing backpack to bring or if you’re in the market to
purchase one, there are a couple things to consider.
- Size - Backpacks are usually measured in liters (how many liters
each pack can carry).
- 10 liters or less: Super lightweight and used for either running or quick fast hikes. Perfect for the shorter hikes (~2 hours). Less comfortable and don’t hold as much.
- 10-20 liters: Tends to be the most popular size for day hikes; a balance between weight and captivity. Can be comfortable depending on the brand and quality. A generic school bag is about this size.
- 20 liters through 80 liters: Built for long days on the trial with the ability to carry lots of gear. Usually used on backpacking trips of multiple days in a row on the trail. Usually pretty comfortable and can hold quite a bit, but are more expensive and heavier.
Now that you have the perfect pack selected for your hike, what do you put in it?
Food and Water
When packing food and water for the hike, it's important to bring
enough. It’s better to have more than you need in case of an injury or
a wrong turn leaves you out on the trail longer than expected.
Water is the most essential item to bring with you on the trail. Dehydration on the trail is very common and can be a deadly mistake if not taken seriously. For shorter day hikes, bringing around 32oz of water should be enough. Increase the amount of water you bring based on the distance and time you plan to spend on the trail. The temperature on the day you plan to hike will also influence how much water you take. As the temperature increases, so should the amount of water you bring. The amount of water you bring also depends on you, you know your body better than anyone else so pack as much water as you see fit.
Food with a high amount of calories will give you the most energy per gram of food, essentially more bang for your buck. Foods that do not to be refrigerated and are light weight are preferred. Items like beef jerky and granola bars are a staple trail food and for good reason, because they offer a good balance of protein and calories while being small and lightweight. It’s best to stay away from food that’s high in sweets, such as candy bars or bakery items. These simple carbohydrates have high amounts of sugar that will leave you feeling tired later on down the trail.
Clothing and Layers
Nothing is worse than being stuck out on the trail and either a
rainstorm or cold front comes and not being prepared. When choosing
what clothes to bring, it's important to first check the forecast to
give you a general idea of the type of weather you may experience.
Wearing layers or bringing clothing that can be layered is the best
option for anything mother nature may throw at you. The basic layering
system consists of a tighter thermal layer first with, an insulation
layer in the middle. A raincoat or windshell is great for wearing on
the outermost layer, as it will keep the weather out and the heat in.
For warm temperature hikes, something lightweight such a tank top or
t-shirt would be great. Packing a raincoat in your bag could be a
lifesaver if the weather were to turn sour. A hike boot or hiking shoe
offer superior traction compared to a regular tennis shoe on the
trail. Wearing thick and supportive socks can help prevent blisters
along with other foot pain. Speaking of socks,nothing is worse than
walking in a wet cold pair of socks, so if you're going somewhere with
water or with high heat, throwing an extra pair could prove to be useful.
Pack Away!
Now that you have a basic idea of what to bring, you can start to
adapt your own idea of what to bring. Deciding what to take and what
to leave is often a difficult task. Countless factors can determine
whether you leave something at home or put it in your bag, and
ultimately it's up to you, the hiker to determine this. We hope we’ve
helped you prepare, at least a little bit! You can also learn more
through the 7
Principles of Leave No Trace. Happy hiking!
By: Owen Dingledine
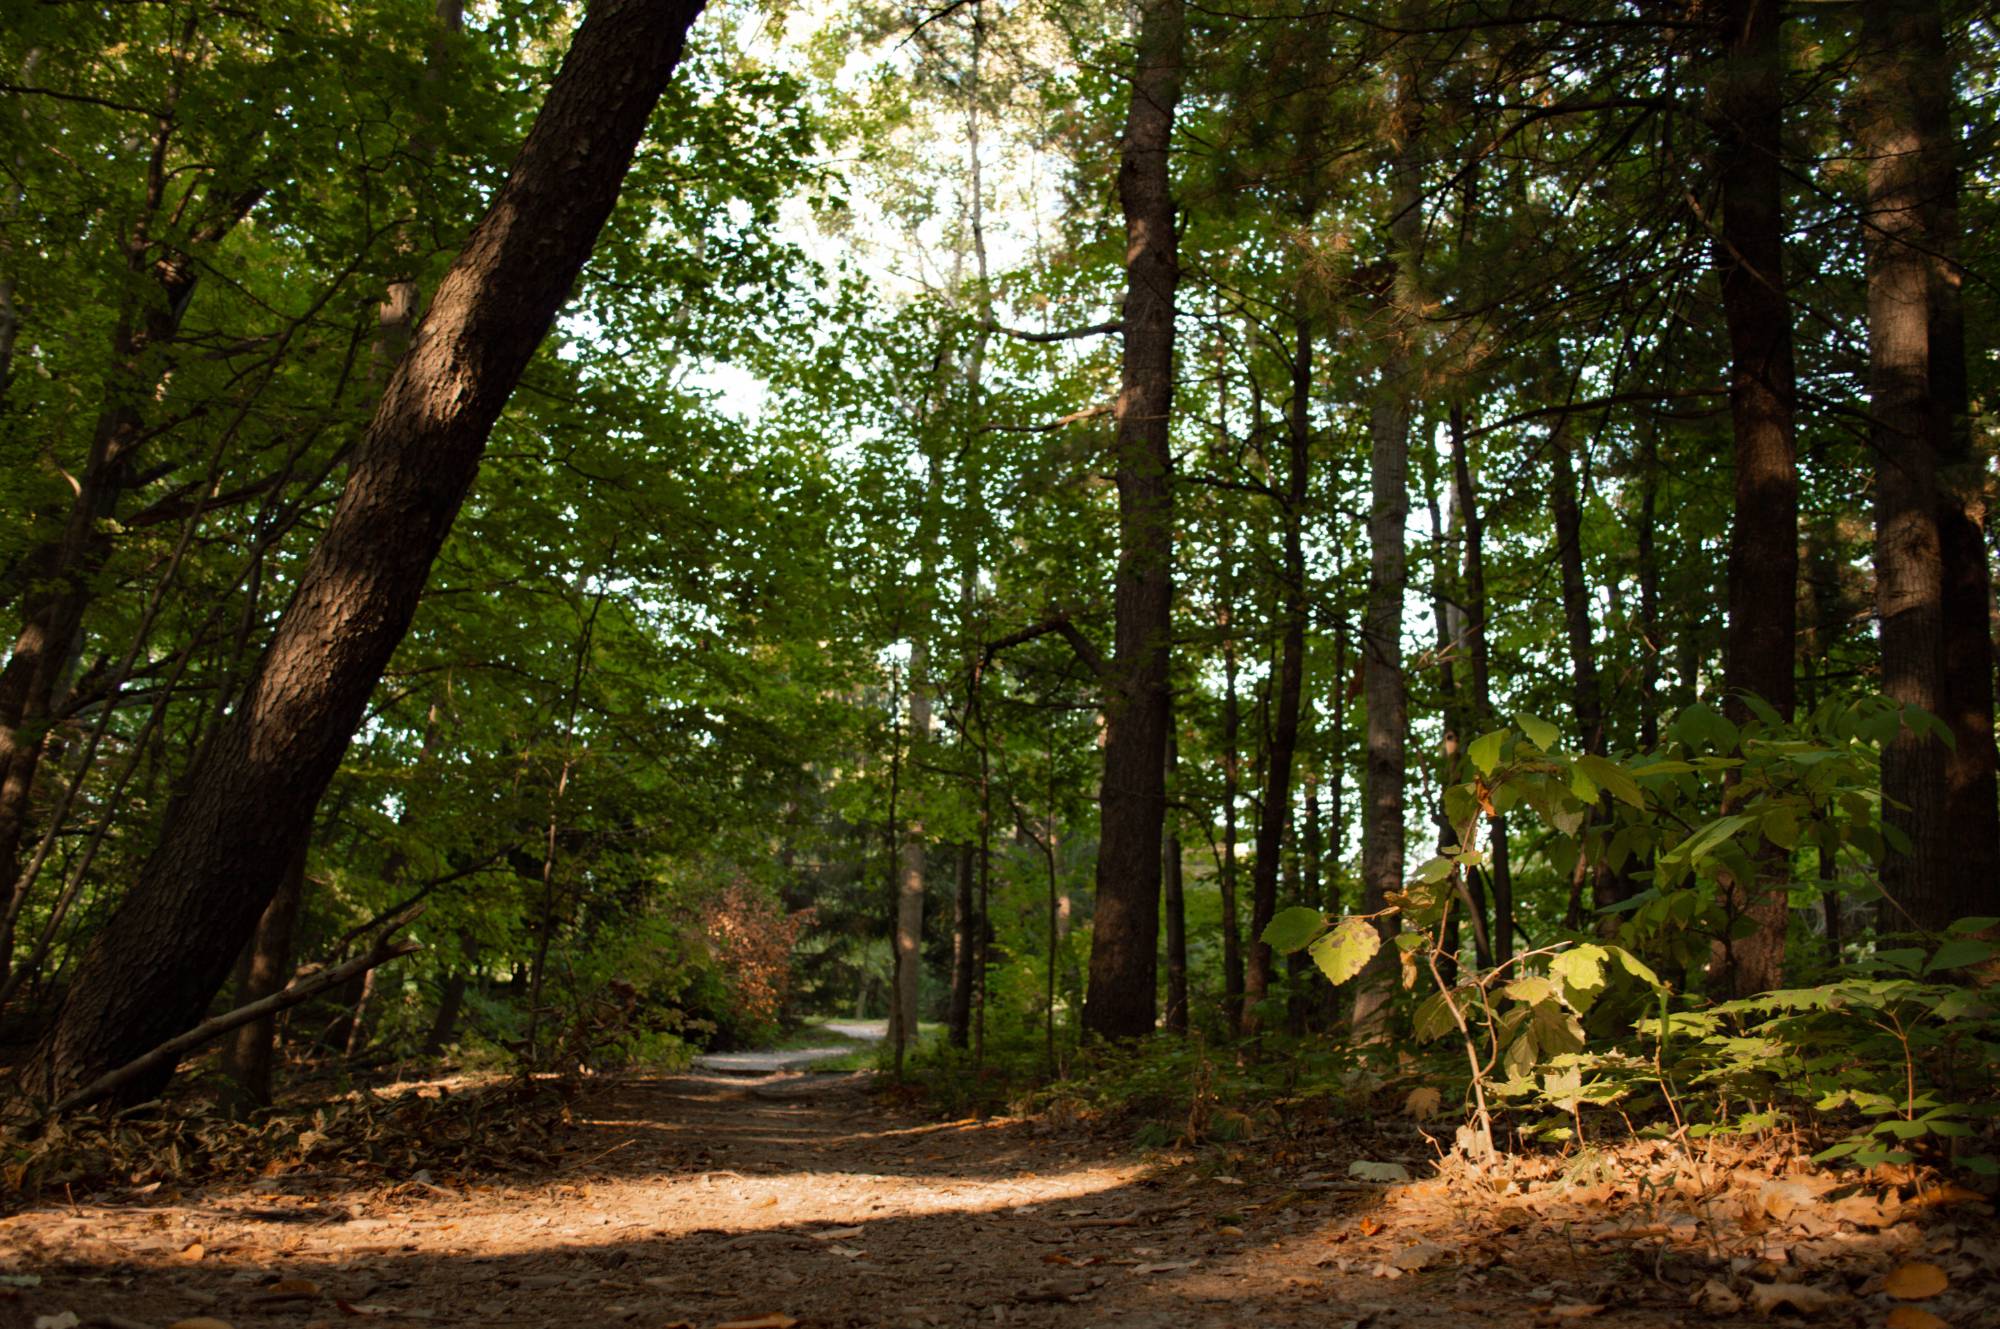
Image Credit: Katie Burdick
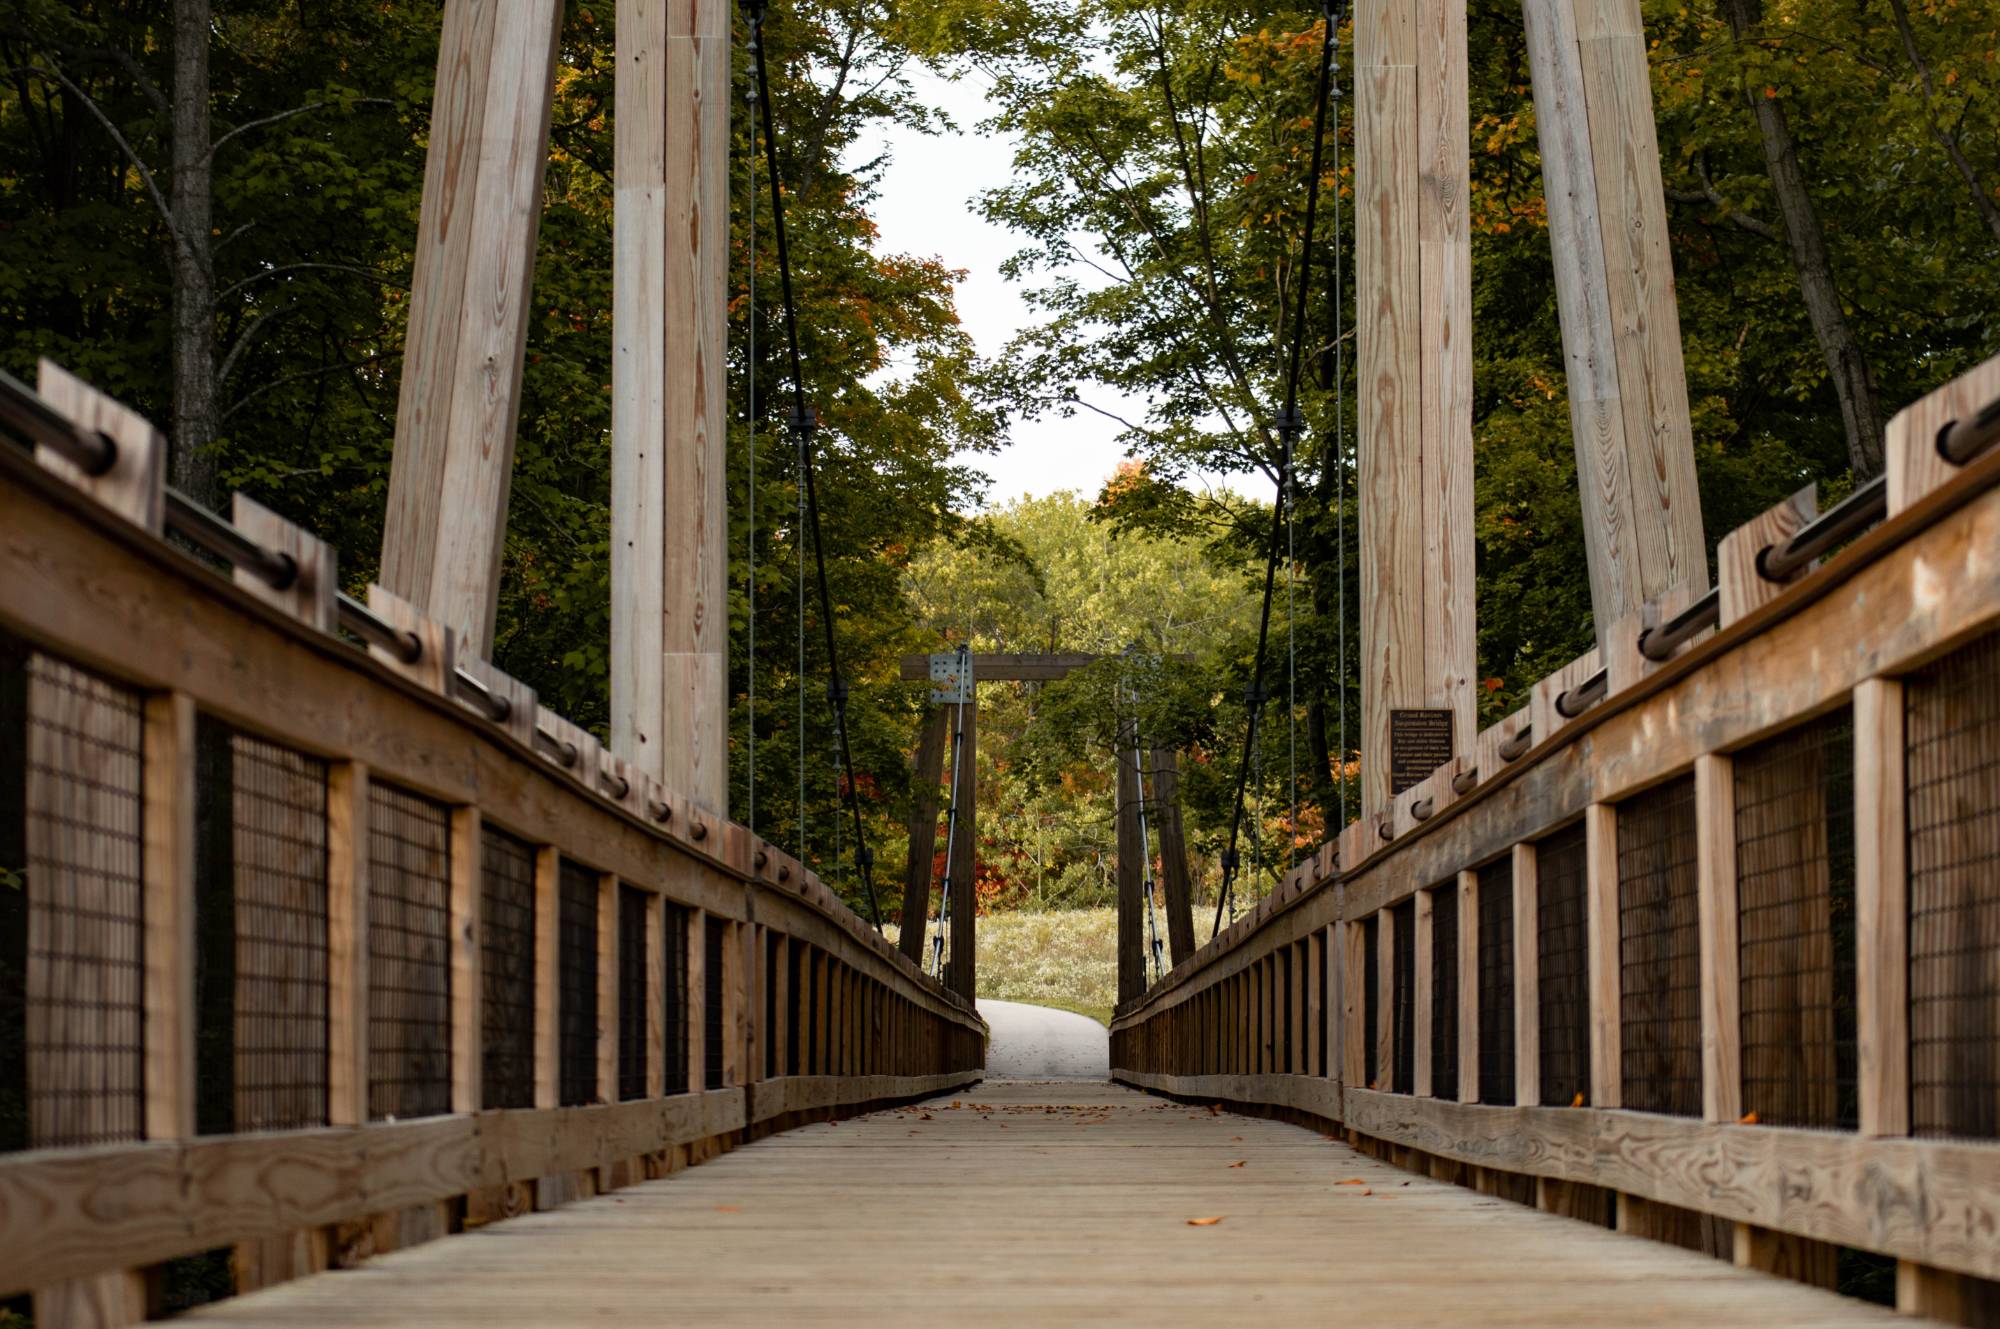
Image Credit: Katie Burdick
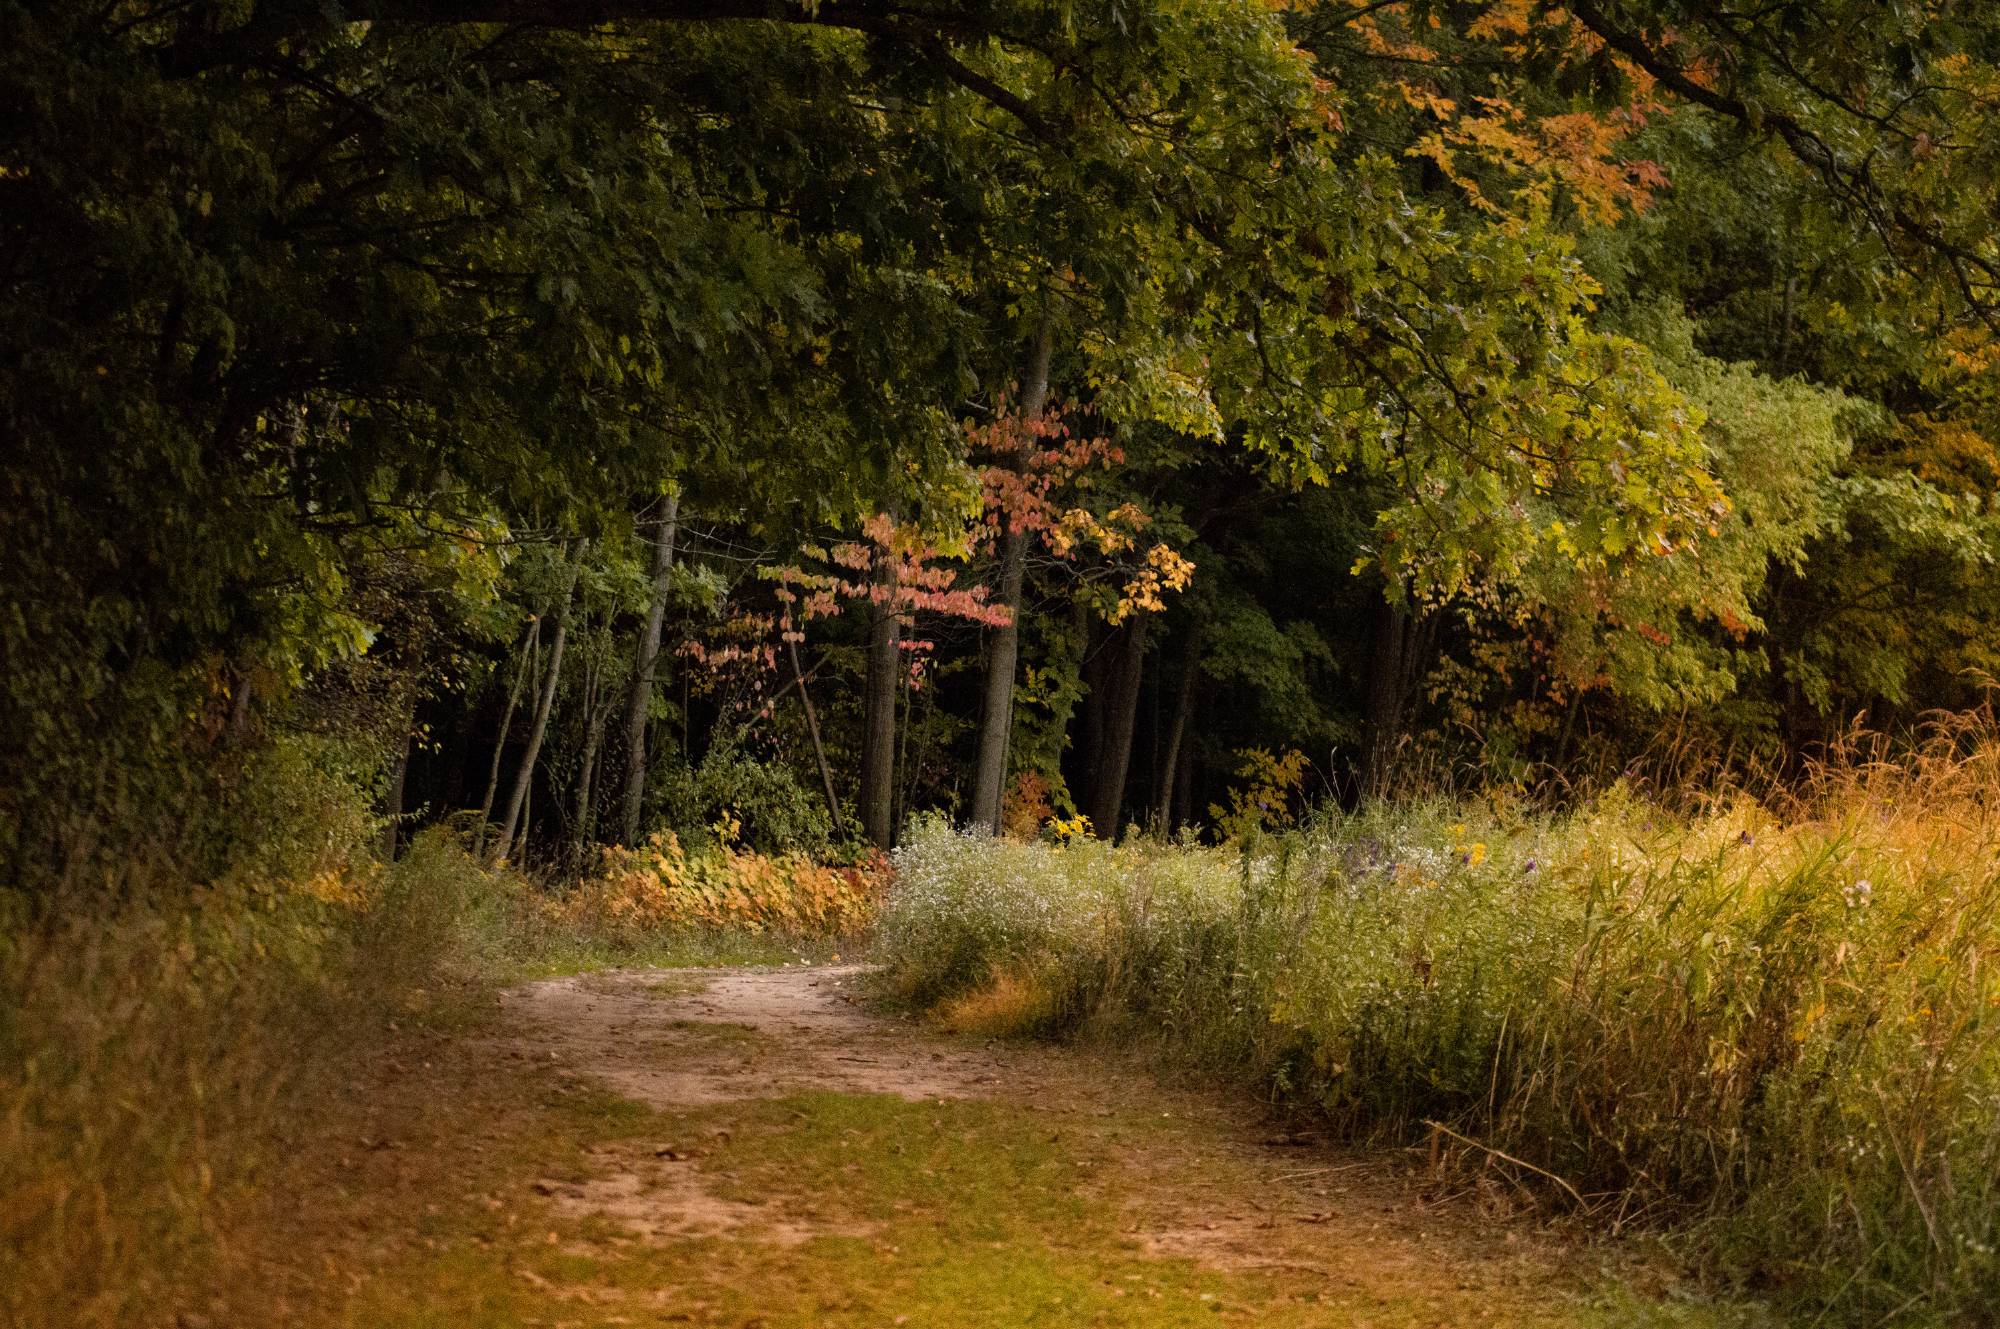
Image Credit: Katie Burdick
Categories:
Outdoor Adventures
Posted
on
Permanent link for Hiking: A Minute of Planning Can Save You Hours of Doing on April 20, 2021.
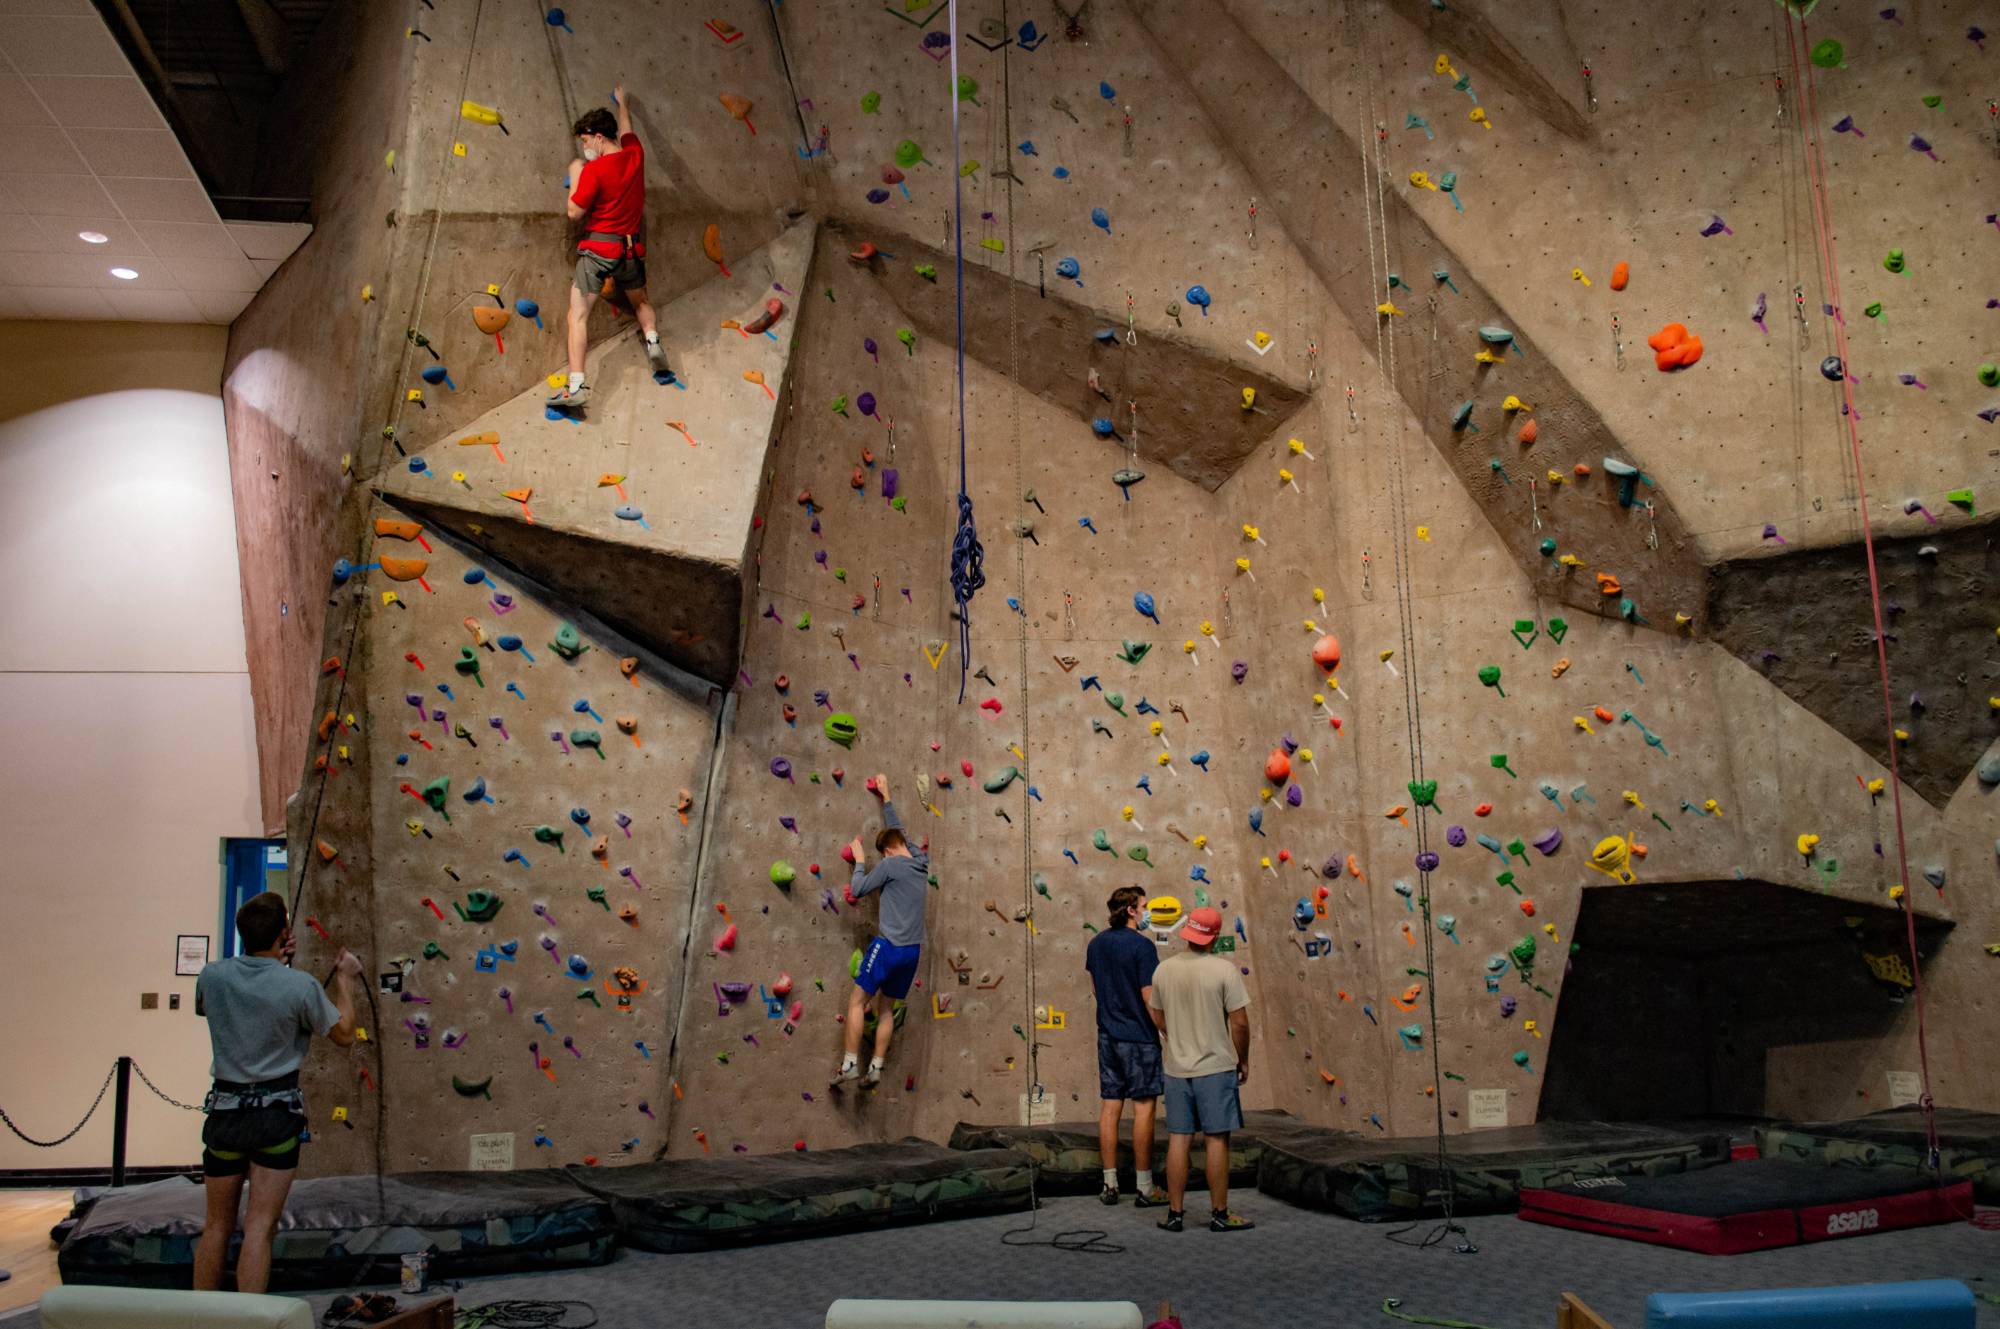
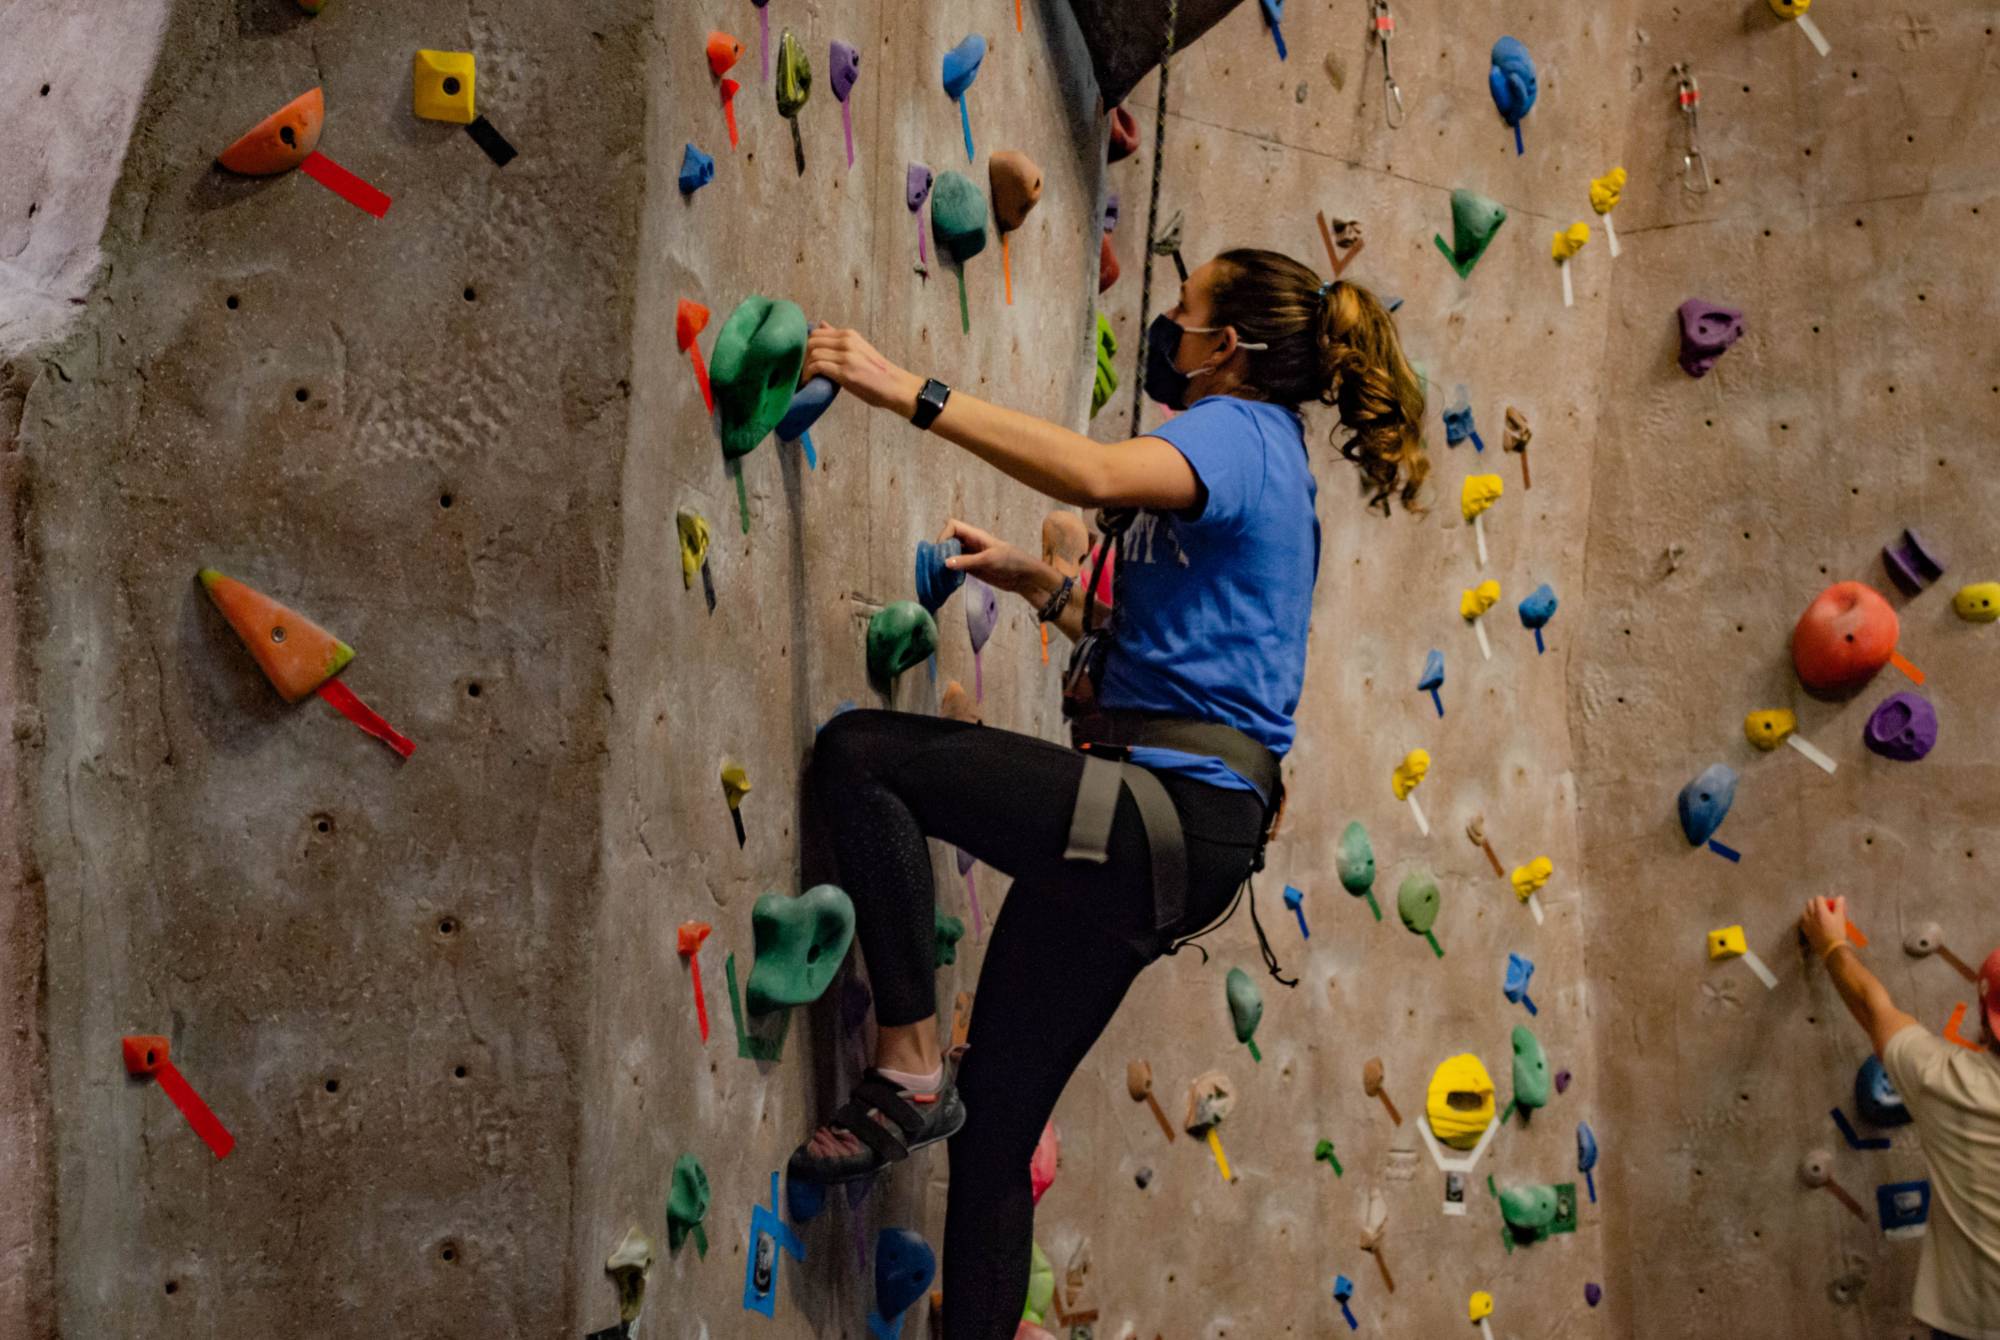
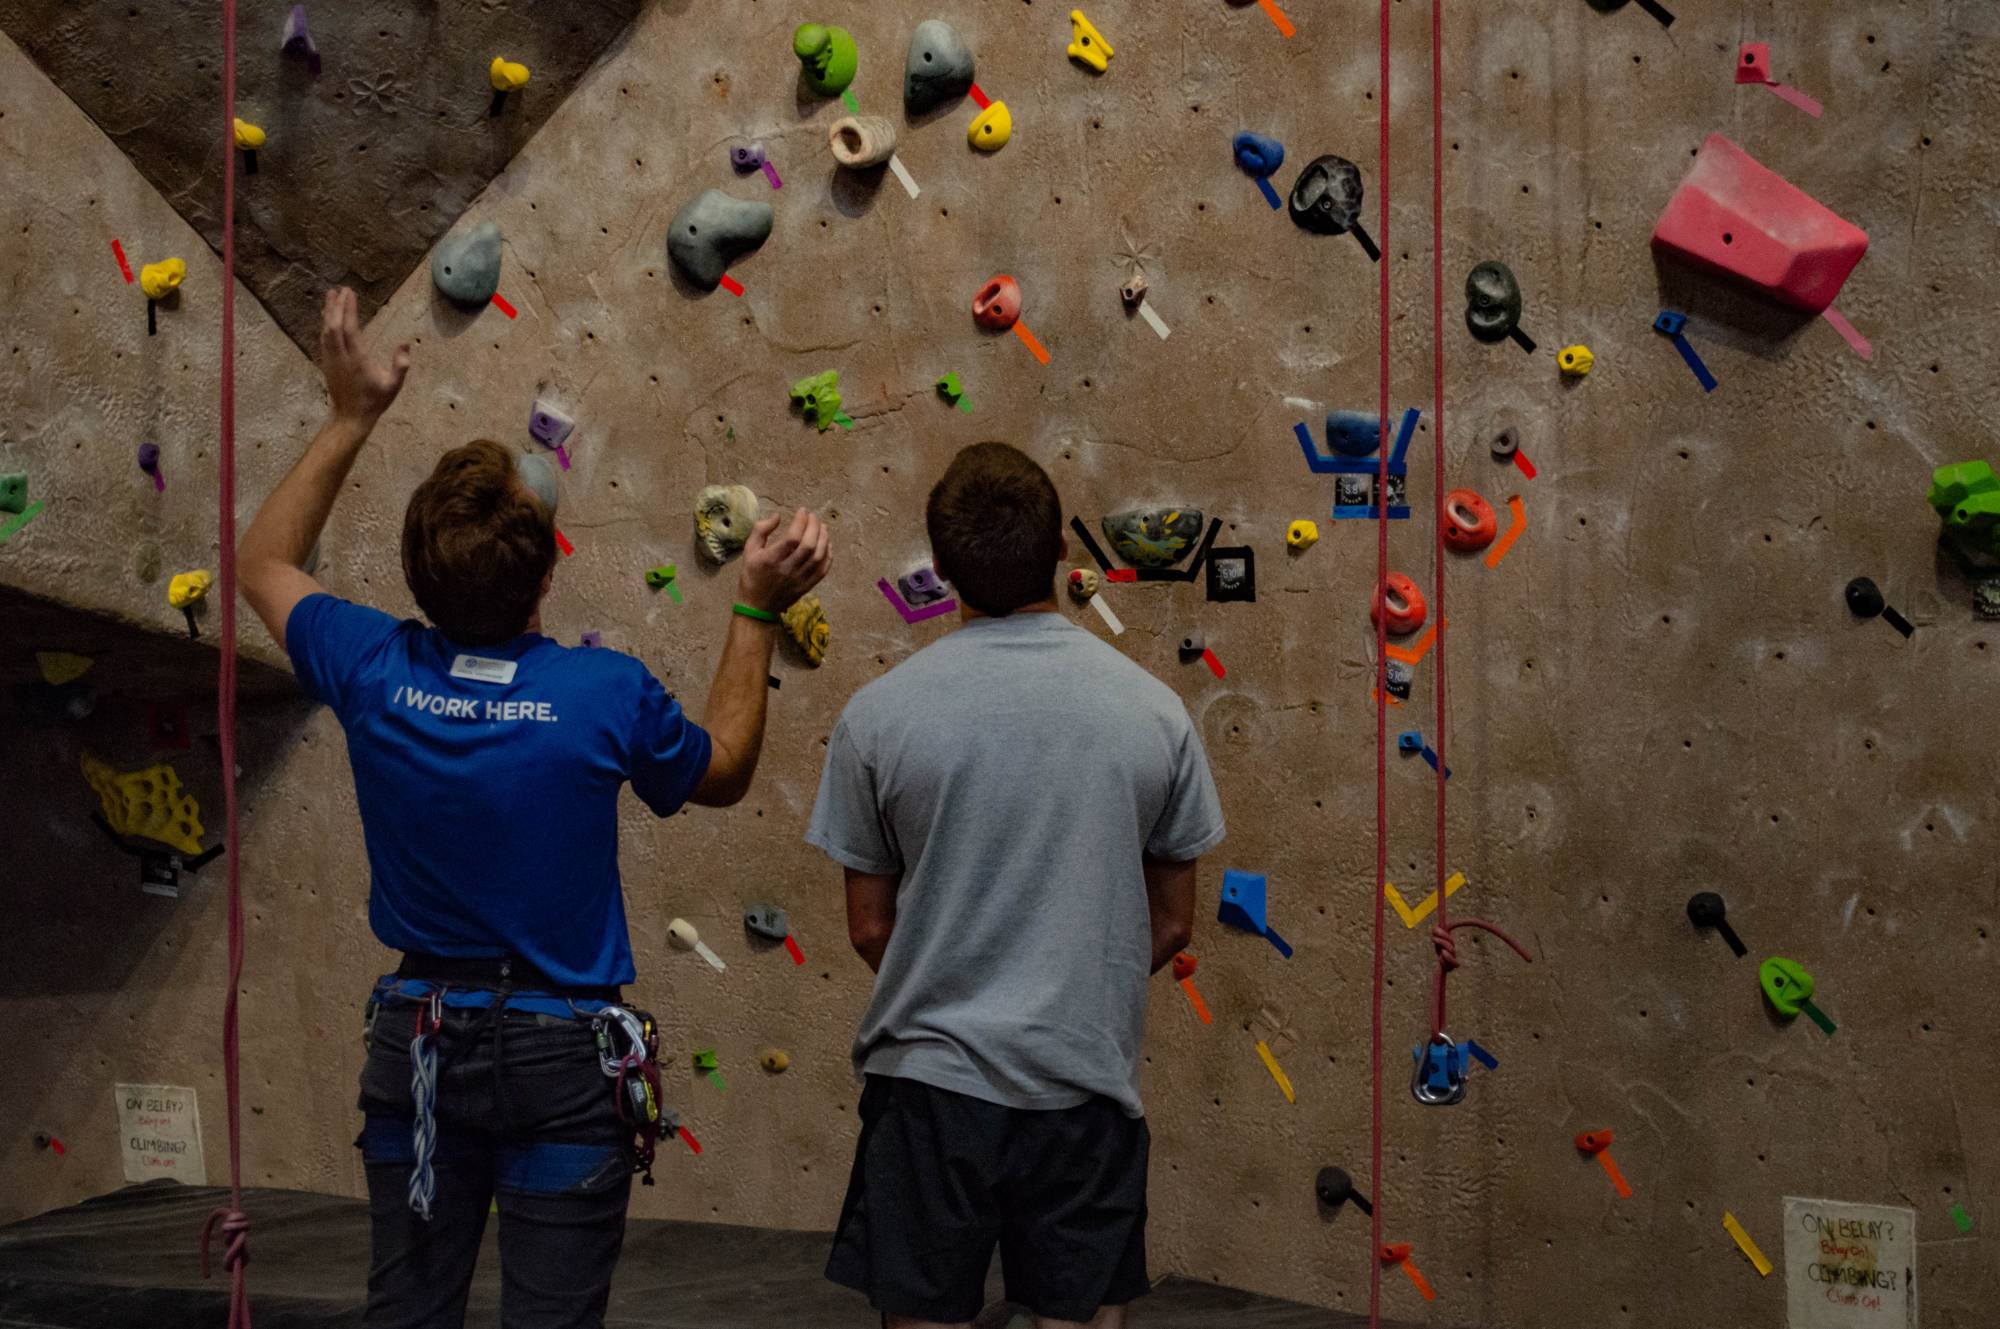
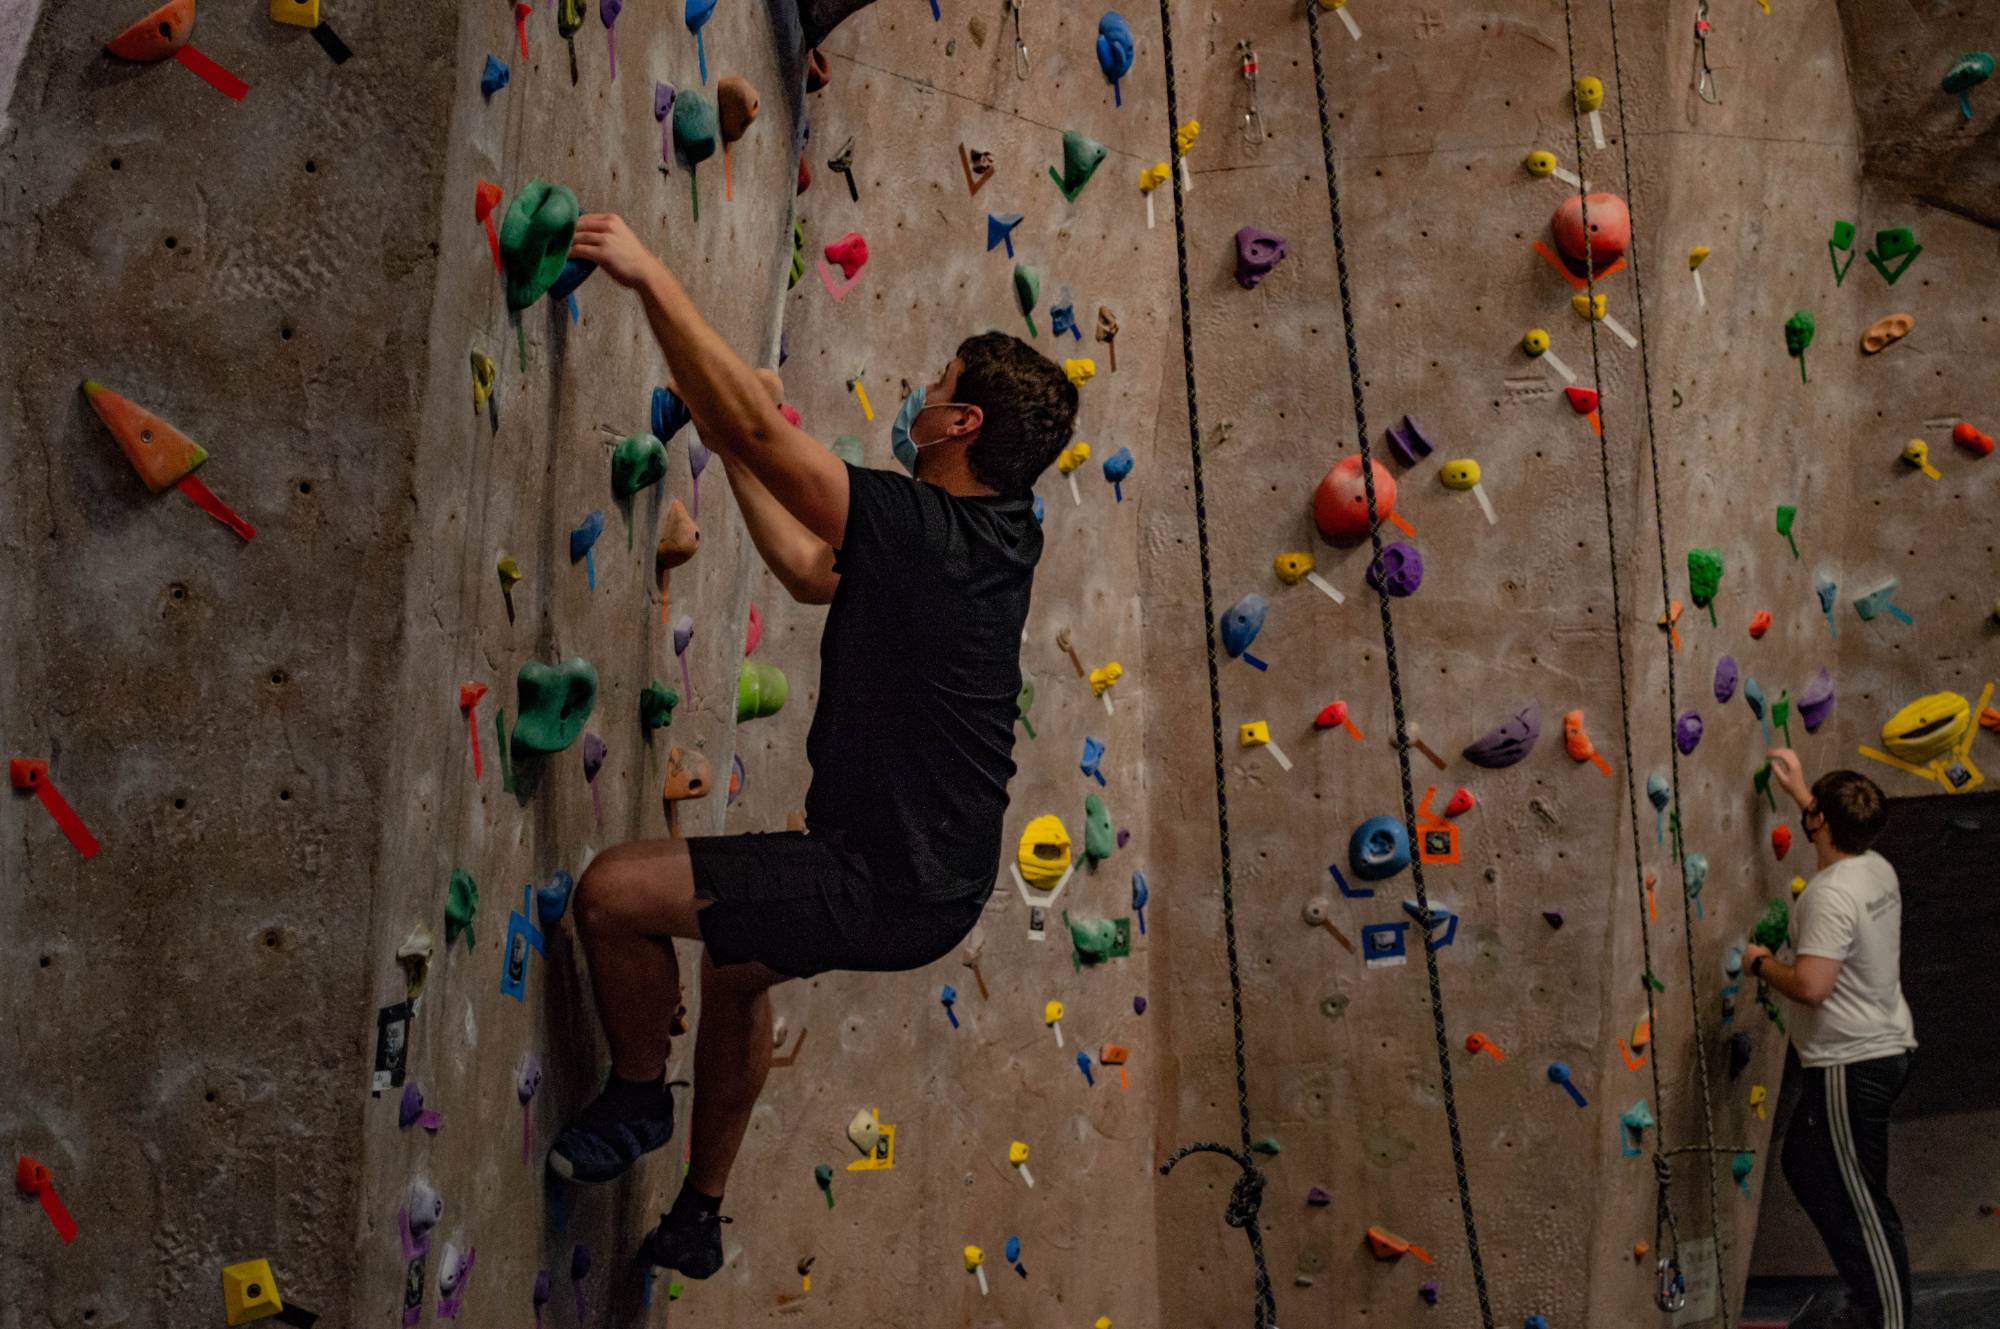
Permanent link for Climb Every Mountain on March 31, 2021
Climbing workouts for better performance
As with any sport or new hobby, there is a burning desire to push yourself to become the best you can be. As humans, we want to see how far we can go and how far we can push the limits of what we believe is possible. This may all seem very deep and philosophical, but if you take time to think about what drives you to be better, it will unlock new potential within yourself. For me, the pursuit of climbing hard grades and performance is what motivates me the most. But, the reason for training and climbing may be different for everyone. I encourage you to find the purpose of your training and remind yourself of this when you feel yourself falling into that inevitable rut. It is important to note that noticeable improvements don't happen overnight, and to our dismay, can take much longer than we would like. The ability to stay inspired and be encouraged is often what separates the good from the great. Not every workout or drill will work the same for everyone; one exercise might work for you but not for others. Trying each exercise and doing your own research through trial and error will help you dial in the workout routine that works the best for you.
CLIMB MORE!
The number one thing new climbers can do to get better is climb
more often! I can't stress this enough; climb more. It may seem
obvious, but getting in the climbing gym and on the wall is the best
way to build a solid foundation. Climbing two to three times each week
is a good balance for getting better each time you go to the gym,
without the added risk of injury you get from overtraining . A common
misconception is that strength is the magic key to unlocking new
routes. However, it's not always a lack of strength holding you back.
You might be able to do 50 pull ups in a row, but if you have no
technique, it will be hard to be a successful climber. It is true that
people with massive amounts of strength can likely climb hard grades,
but it often looks clunky and ends up wasting significantly more
energy than someone with good technique. Luckily, technique is one of
easiest and most enjoyable aspects to train. The number one way to
work your technique is to climb more, and with easy to do drills, it
can be fun.
TECHNIQUE
Climbing can be hard work but not every training session needs to
be physically exhausting for you to get better. Compared to strength
training, focusing on improving technique often results in bigger
improvements in a shorter amount of time. Especially for newer climbers.
Some drills for building technique:
Silent Feet: This drill is pretty simple and requires almost no gear. All you will need is a relatively easy section of wall. Then:
- Climb while making little to no noise when your feet touch the holds. This will require you to move slowly and with precision.
- Climbing with controlled motions requires you to find and remain in balanced positions.
- The goal is to improve your footwork, which is essential to be an efficient climber. In the long run, it will help preserve energy on the wall.
- Progress this exercise by applying it to specific paths, or “routes” on the wall and/ or adding bells to your shoes.
Single Touch: This drill works footwork, as well as precision with your hands. Pick a section of wall or two to three routes you can comfortably climb. Then:
- Once you grab a hold with your hands or place a foot on a hold, you can not move it unless moving to the next hold. You must hold the rock in the way you initially grabbed it, no shuffling around to find the best way to hold it. Repeat the same way for feet on foot chips.
- The goal is to increase precision with your hands and feet. Grabbing the hold exactly where you want to on the first attempt will save energy and help you from falling because of poor hand or foot placement.
There are other drills out there that improve technique, but these are the two that I personally use and have found success with. These drills work great as warms ups while improving the “smoothness” in your climbing.
ENDURANCE
The biggest downfall almost all climbers have is the fight
against the “pump” (or the build up of lactic acid in the forearms,
which signals fatigue of the fingers and arms). Stamina is essential
to climbing all types of routes and something I personally struggle
with the most. The ability to complete multiple hard moves in
succession is something that many climbers strive for. Training your
endurance is challenging and can be physically exhausting.
Fortunately, training for building climbing endurance is one of the
most fun types of training because it’s all about spending more time climbing!
Some drills for building your endurance:
Laps: This drill is very simple but is definitely taxing on the upper body. It is preferably done on a taller roped climb (aka a “top rope”) route but doing it lower to the ground, without ropes (aka “bouldering”) would suffice. The only downside of this drill on the top rope is the responsibility of the belayer (person controlling the rope and keeping the climber safe) to belay you multiple times in a row.
- Pick an easy section of wall or route that you believe you can comfortably climb twice in a row, but would struggle on your third attempt. Picking the right one is important; find a balance between pushing yourself but not going too hard. If you have a particular style you’d like to focus on, picking a route of that style would be a good idea.
- Simply climb the selected route three times in a row, only taking a break to chalk up and to check with your belay before climbing again.
Traverse: Similar to the laps drill, this will require you to be on the wall for an extended amount of time. This drill is more accessible, as it does not require someone to belay for you. The biggest downside of this drill is that if the wall is busy, you won't be able to do it.
- The goal is to travel across the wall horizontally for as long as possible. Or for a predetermined amount of time or moves.
- Climb below the boulder line on a side of the wall, then start climbing across the wall horizontally, using any hand holds you want and using foot holds smaller than a fist.
Hang boarding: This is a great way to strengthen your fingers from the comfort and convenience of your own home. As far as pure finger strength building goes, it's unbeatable. However, if you hang board too hard, too soon, or too often, they do present the risk of injury. I wouldn't recommend getting into hangboard training at all until you have climbed for about a year. Your fingers are the most important body part in climbing, so it's essential to keep them healthy. If hang boarding is something you are looking to get into, I encourage you to do some research beforehand. There are a lot of great, yet vastly different, workouts available. Hang board at your own risk!
Ringing the Bell
Rock climbing has endless possibilities. From the many gyms to
the thousands of established routes outside, there is something for
everyone to climb. With each harder grade you can climb a whole new
set of routes and areas open up for you to explore. For me training
has been a way to stay dedicated to the sport and stay in shape for my
own physical well-being. I learned the drills I discussed from those
who are more experienced than me, along with help from the internet.
Everyone has different ways to train so asking and discussing with
others is a great way to expand your knowledge and make a few new friends.
By: Owen Dingledine
Categories:
Outdoor Adventures
Posted
on
Permanent link for Climb Every Mountain on March 31, 2021.