
Blackboard: Create and Manage Groups
The Groups feature allows Instructors and students to create groups of students within a course. These Course Groups have their own area on Blackboard Learn. These spaces are equipped with tools that can assist in this collaborative process: Blogs, Wikis, Journals, file sharing and Group Assignments. Groups can be created one at a time, or in sets. After you create a group, you can edit the group’s tools, name, availability, and members.
Group Enrollment Methods
Instructors can create a single group or multiple groups in which students can be enrolled manually, randomly, or by allowing the students to enroll themselves. These enrollments can be changed at any time. These groups can be linked through the Course Content page like any other Course Content item.
- Manual Enroll: Allows you to assign each student in your course to a group. Manual enrollment is available for both single groups and group sets.
- Random Enroll: Automatically distributes students into groups based on your settings for maximum members per group or total number of groups. This is only available for group sets.
- Self-Enroll: Allows the students to enroll themselves in groups by using a sign-up sheet. This is available for both single groups and group sets.
Create a Single Group
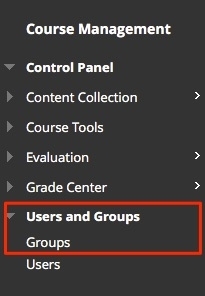
- Access the Groups page from Control Panel by selecting Users and Groups, and then Groups
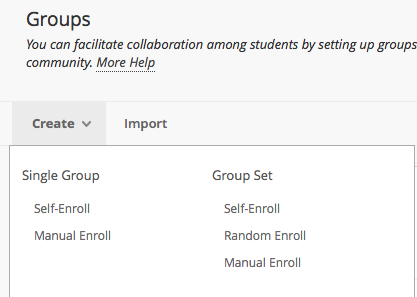
- On the Groups page, select Create.
- In the Single Group list, select Self-Enroll or Manual Enroll
- Type a name and optional description. Make the group visible to students.
- Select the Tool Availability for the group
- Enroll students in the group

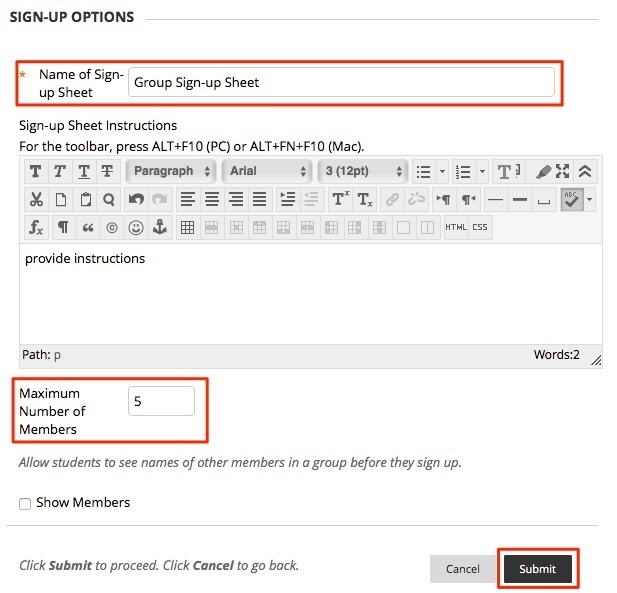
- If you chose Self-Enroll, type a name and provide instructions for the sign-up sheet. Type in the maximum number of members, and decide if students can see members already enrolled before enrolling. Click Submit when finished.
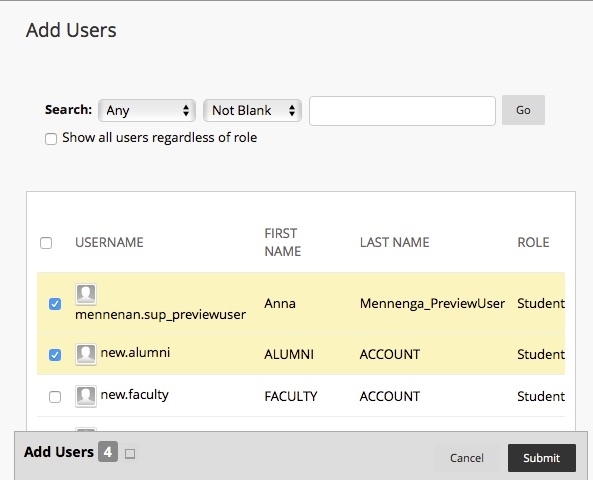
- If you chose Manual Enroll, search for and select students from the Add Users pop-up window. Click Submit when finished.
Create a Group Set
- On the Groups page, select Create
- In the Group Set list, select Self-Enroll, Manual Enroll, or Random Enroll
Use the same steps as creating a single group. Then, based on the enrollment option you choose, you can choose from these:
- Self-Enroll: Type a name and instructions for the group. Enter the maximum number of members and select any other options you want to include.
- Random Enroll: Type the number of students per group or the number of groups you want to create. Select an option to Determine how to enroll any remaining members in the groups.
- Manual Enroll: Type the number of groups to create. On the next page, select add users for each group to make your selections.
** Note: Random enrollment only applies to students who are currently enrolled in the course. When naming a set of groups, the name of each group has a number added to it when they are first created. For example, a set of groups named “Intro to Biology”, results in groups name “Intro to Biology 1”, Intro to Biology 2”, depending upon the number of groups in the set.
Add or Remove a Group Member
- On the Groups page, select Edit Group in the group’s menu
- On the Edit Group page, select the x in a member's row to remove the user from the group. Select Remove All Users to delete all members from a group.
- To add a group member, select Add Users
- Select Submit
