Blackboard: Learning Modules
A learning module is a container for content that holds an organized collection of material presented with a table of contents. Typically, learning modules are created in content areas. Within a learning module you can add content items, file attachments, links to websites, tests, assignments, and videos.
Create a Learning Module
- With Edit Mode set to ON, go into the content area where you want the module to be located
- From Build Content, select Learning Module
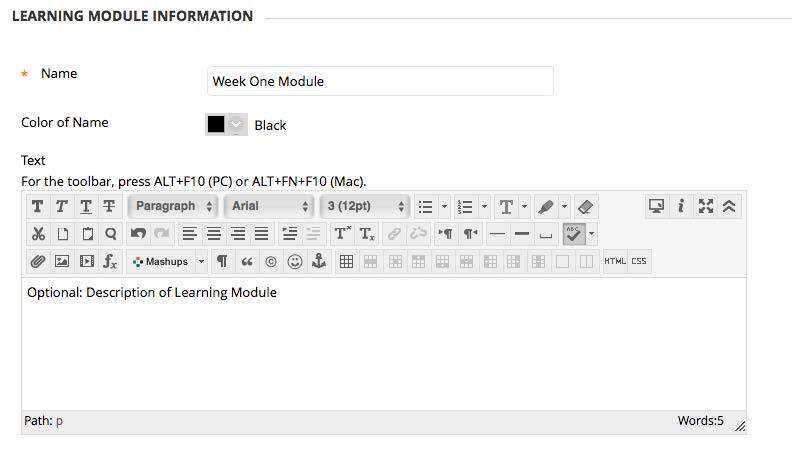
- Name the learning module and add any directions you want to provide to your students.
- Scroll down to apply the Learning Module Options to your learning module. If it is important that students complete one page before moving on to the next page, select “Enforce Sequential Viewing of the Learning Module”.
- Select Date restrictions if needed
- Choose to show Table of Contents to students
- Click Submit
- Click on the name of the learning module to open it and add materials. If you want to change the settings of the learning module, click on the arrow button and then click Edit.

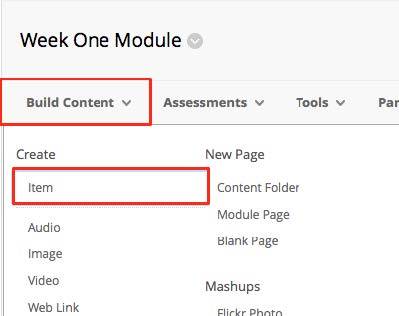
- Once you have clicked on the module name, to enter the module folder, you can begin adding content. If you wish to upload a document, such as a PowerPoint presentation, a PDF file, or perhaps a Word or Excel file, click on Build Content and then select Create Item.
- On the next screen, you will add the name of the file and fill in any text, such as instructions or learning objectives.
- Add an attachment if needed and date restrictions. NOTE: Any date and time restrictions selected here only apply to the single file within the learning module.
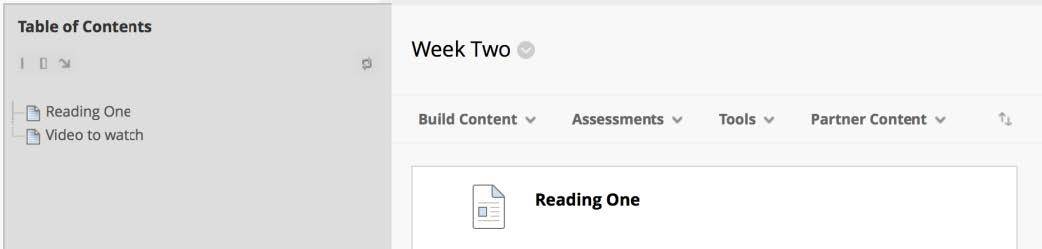
- You will then see your item listed and can add additional content such as: a web link to an online resource, a video, an assignment, a test, a link to the discussion board, or a link to a journal.
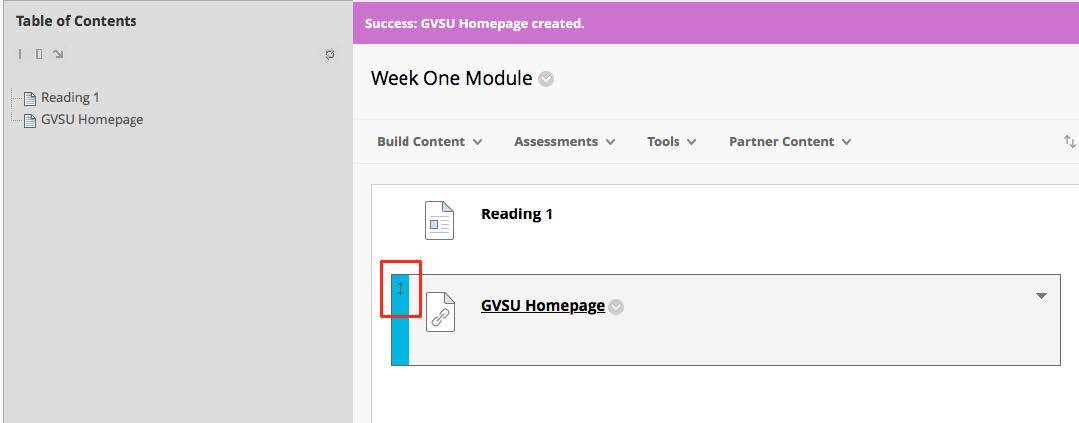
- Once you have added all of your “pages”, you can rearrange the order by clicking and holding down on the arrows. Then drag the item up or down to place in the preferred order.
- To view the learning module from a student perspective, click Student Preview (make sure Edit Mode is ON). Students can view the content, beginning with the first items, and then advancing through the pages using the provided arrows.
Students can proceed through each page of the Learning Module, attending to the content and following through with any active learning exercises that you have imbedded within. You can monitor their progress through “viewing statistics” (if Tracking is enabled), through “user progress” or by setting “adaptive release” criteria.