Education and Outreach at AWRI
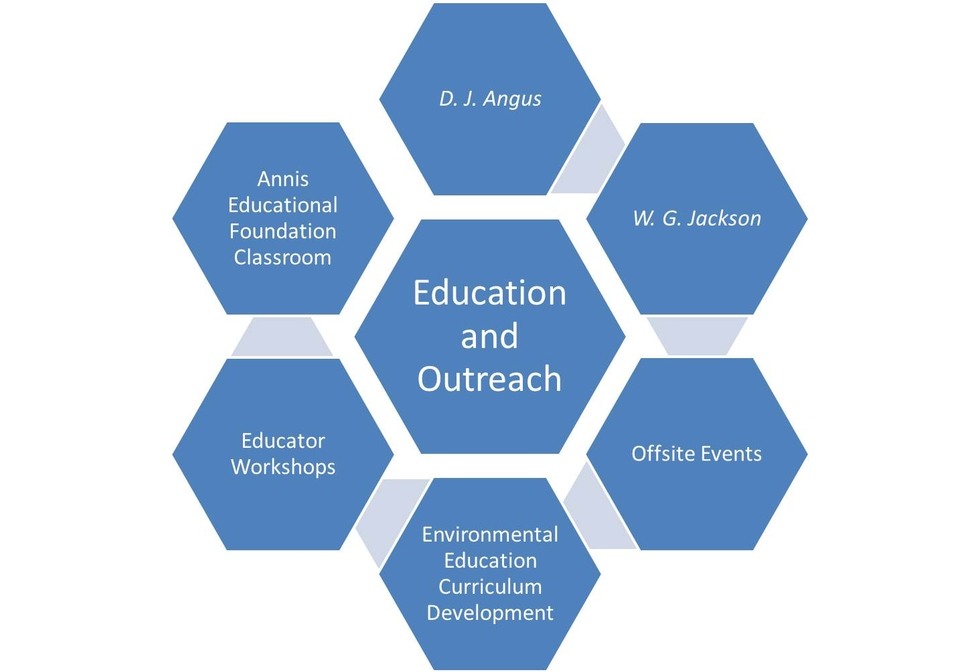
AWRI's education and outreach programs serve a variety of audiences:
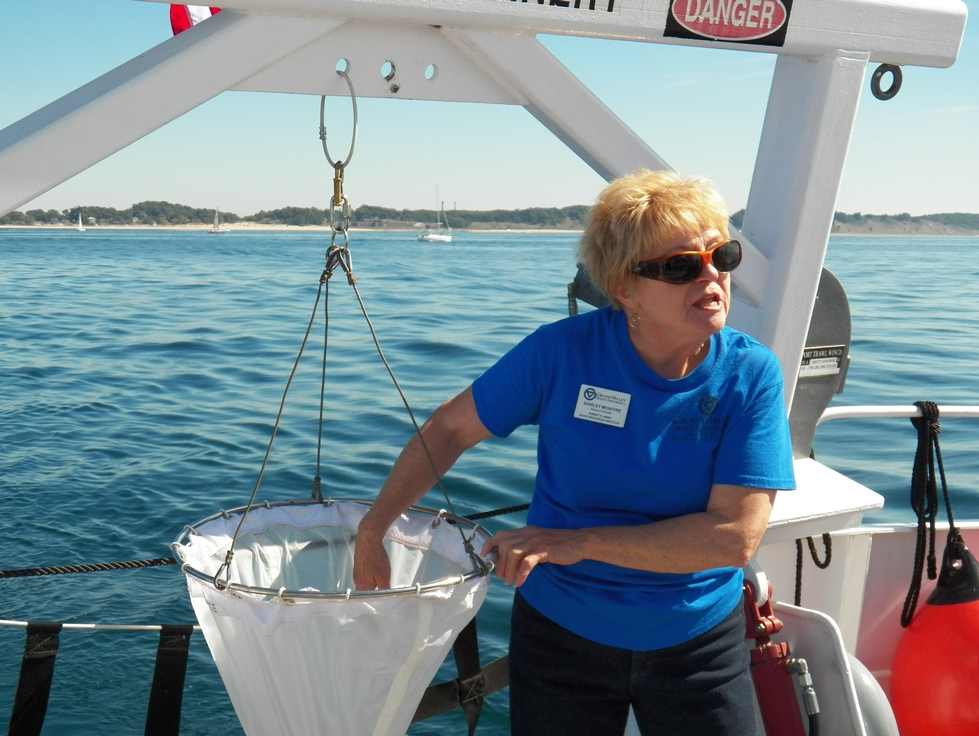
- Educational cruises on the W.G. Jackson and the D.J. Angus vessels have reached over 188,000 people.
- See our Instructor's Manual (PDF) and the Exploring the Lakes (YouTube) video for what happens on a cruise.
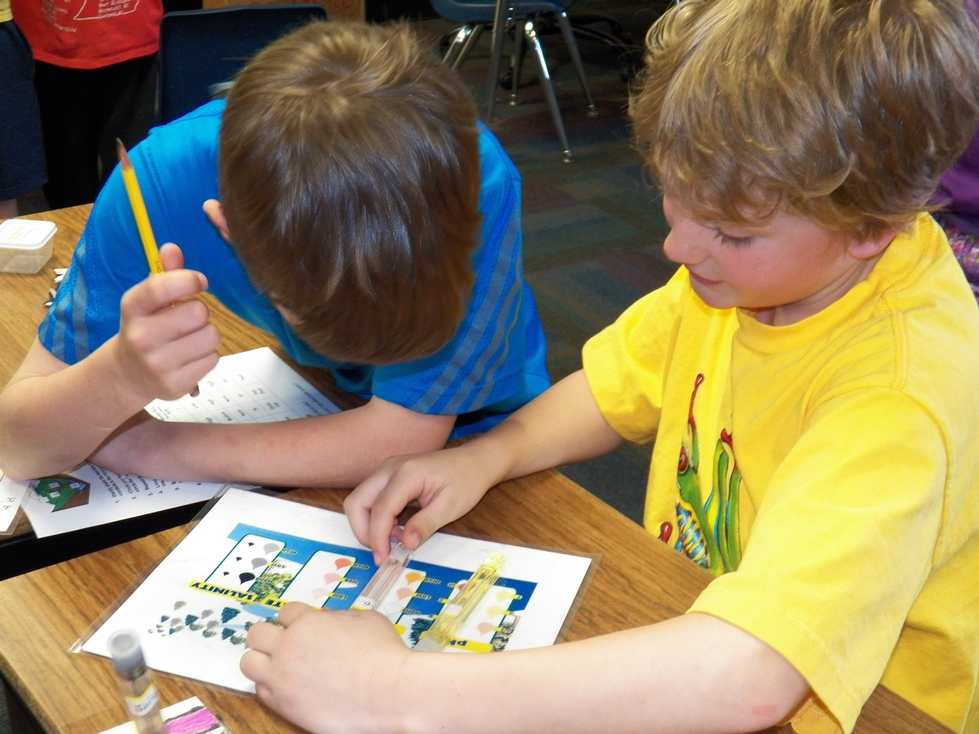
- Landside Programs in AWRI's Annis Educational Foundation classroom can be customized for all ages.
- Professional development workshops for educators are conducted in a variety of environmental education programs (Project WET, GLOBE (GLOBE website), Project Learning Tree).
- AWRI coordinates Michigan Project WET.
- AWRI's education and outreach team participates in water festivals, community events, and the away trips.
- Environmental education curriculum development has focused on the Michigan Environmental Education Curriculum Support (MEECS) modules.
- Check out our links to Great Lakes education resources.