Emma Tutorial - Legacy Editor
These instructions are for functionality of the "legacy" Emma editor, which Emma will be discontinuing. (Their discontinuation date is unknown.)
Complete Emma instructions, including how to upload recipient lists and send emails
Getting Started
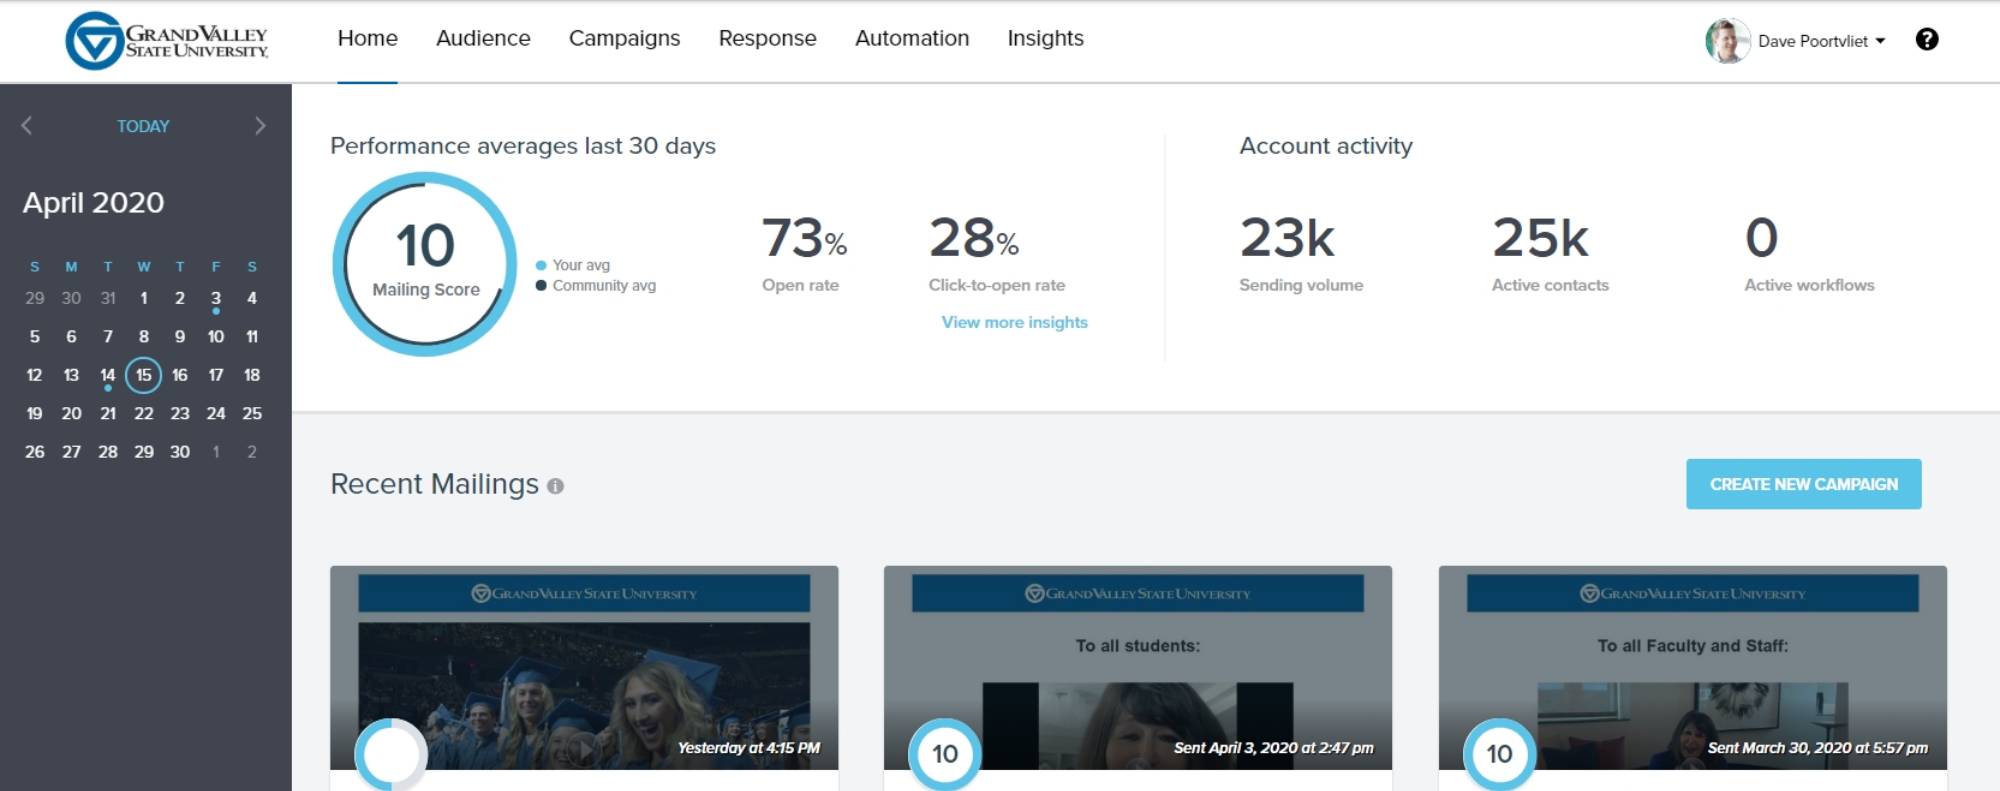
After logging in, the first screen you'll see is the account summary. Click "Campaigns" in the top navigation bar.
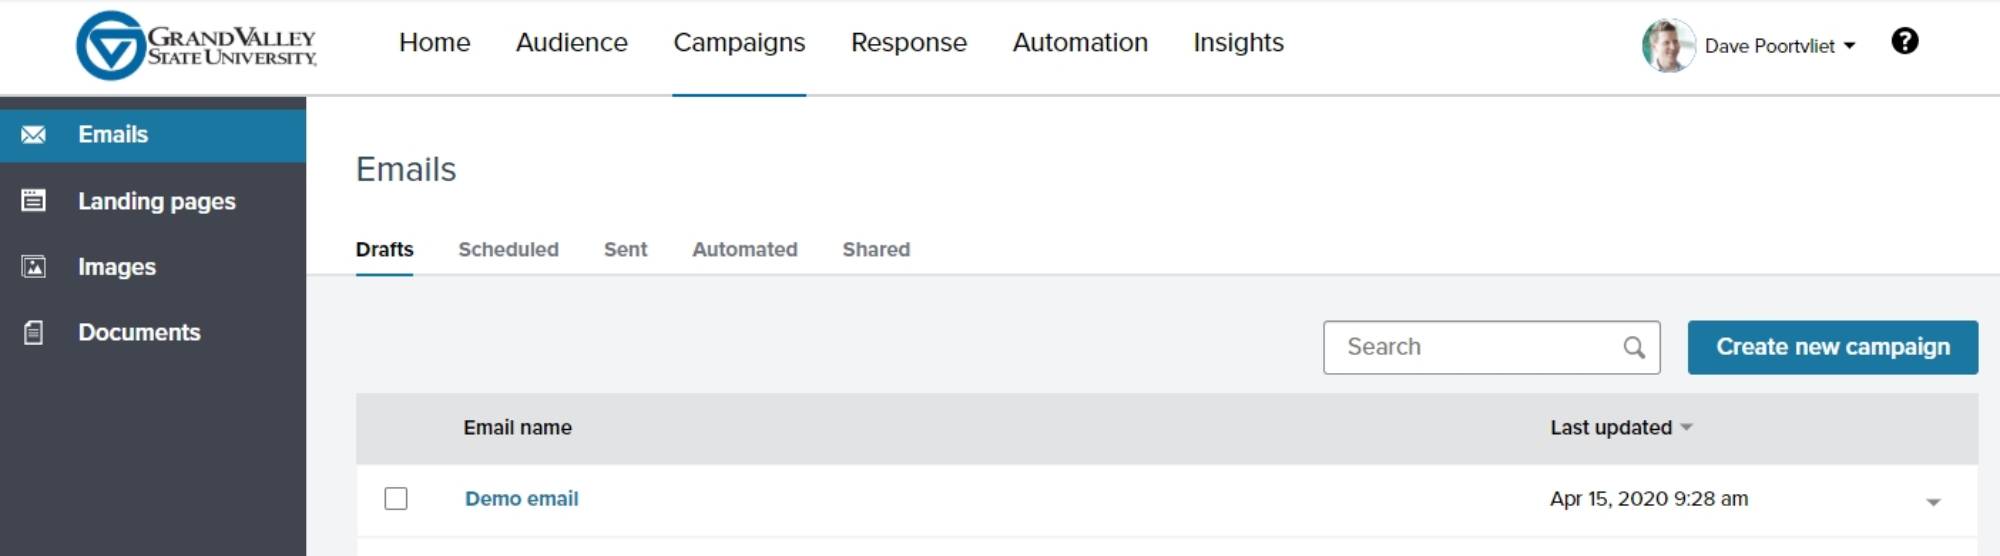
If your account is new, click the blue "Create new campaign" button in the center of the screen. If you're starting a new email, the "Create new campaign" button is located on the right side of the screen. After clicking either button, you'll first be prompted to name your email campaign.
If you want to edit an existing email, simply click the email's name.
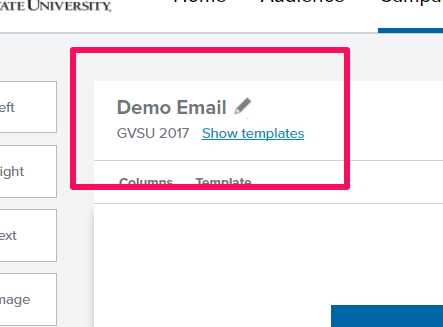
To view your template options, click "Show templates" in the upper left corner of the editing screen. Template options are dependent on your office/department. To change your template, click any of the thumbnails.
To change your campaign's name, click the pencil icon in the upper left corner.
Adding and Editing Content
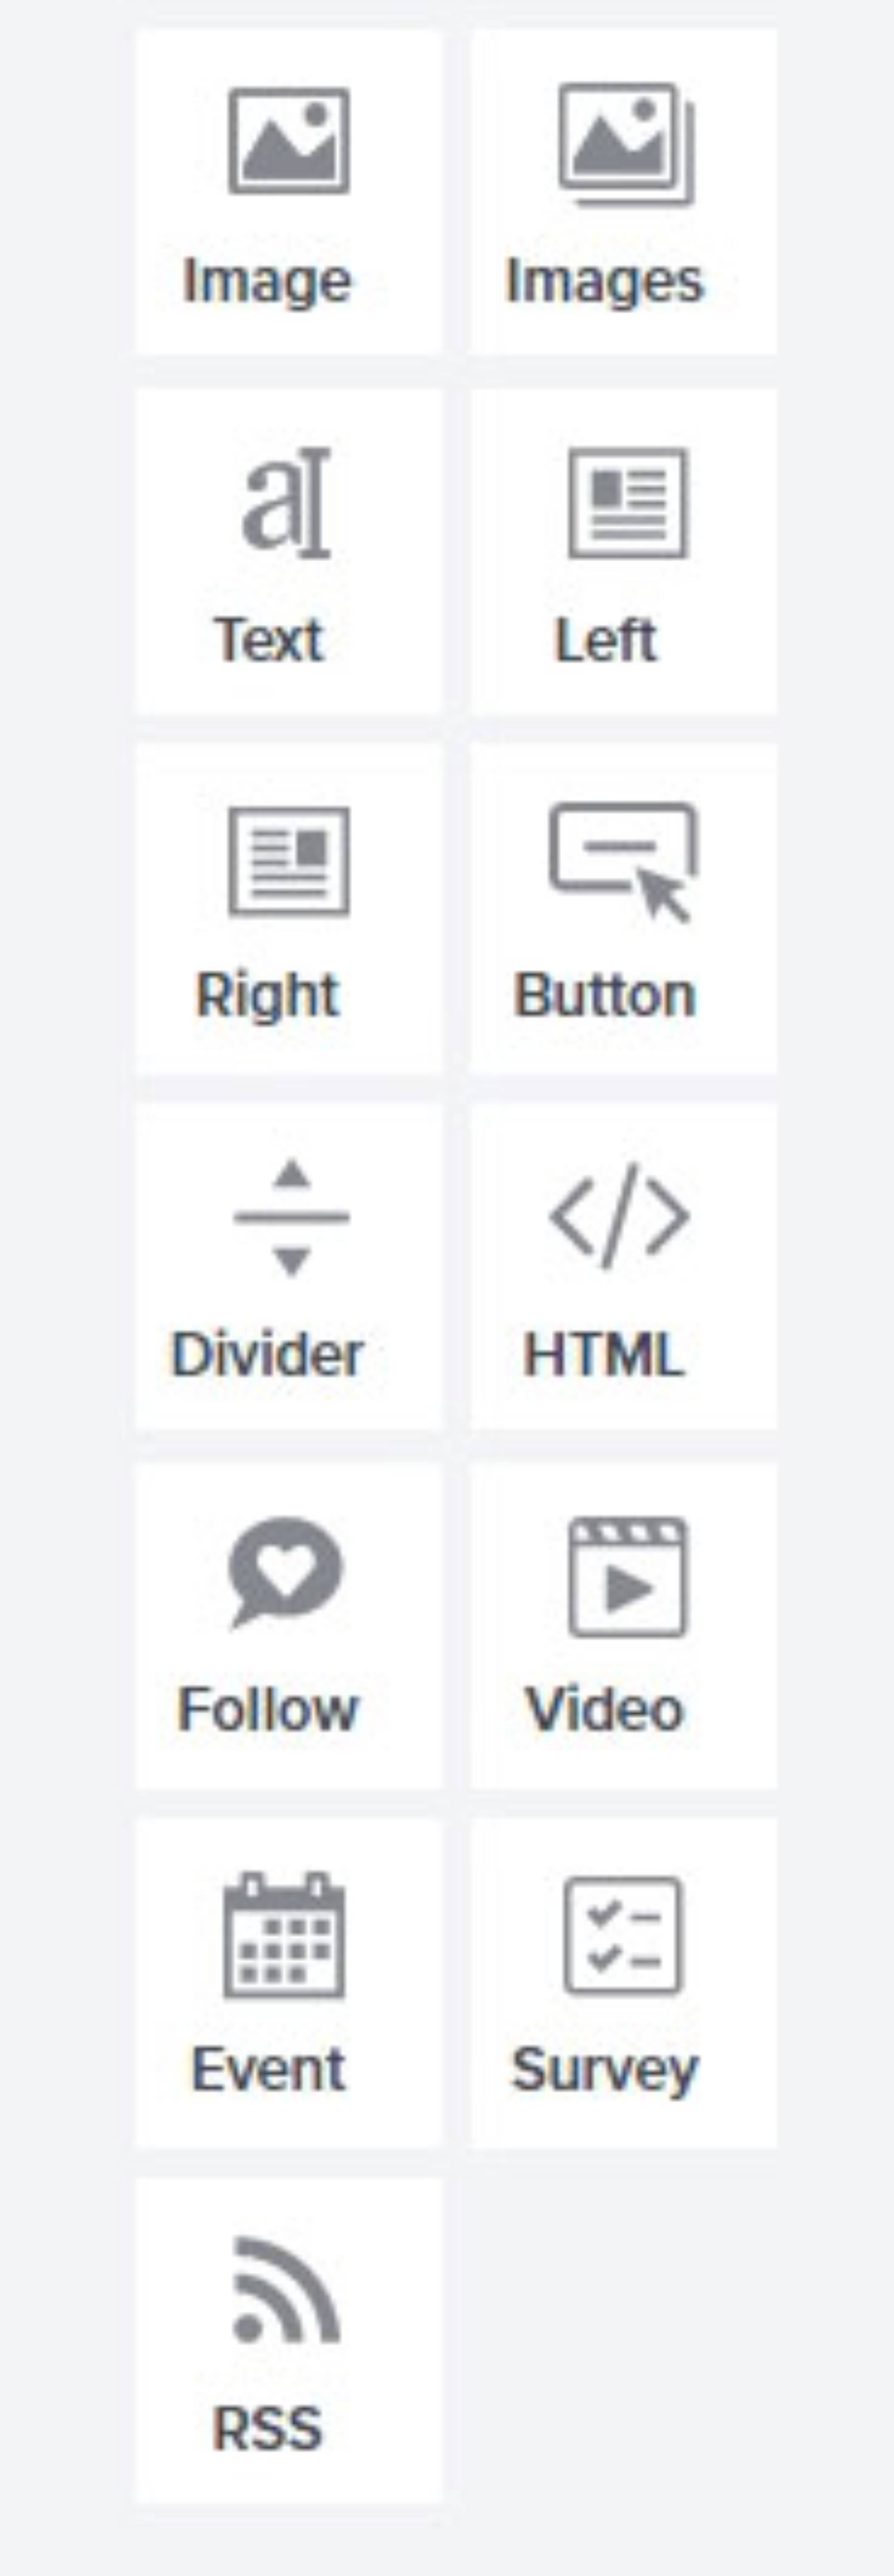
The left column is where your content options are - images, text, text with images, buttons, social media icons, videos, etc. Any of these can be dragged and dropped onto your email.
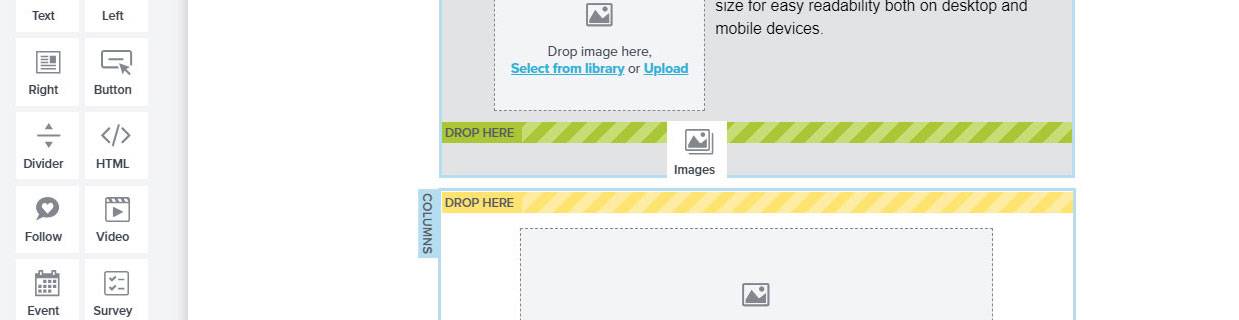
When dragging a content block in, you'll see yellow "DROP HERE" bars, showing where your content can be placed. The yellow bar will change to green when hovering over an available location.
Text formatting and adding links is done via the toolbar that appears after clicking on text.
Hint: The "paragraph" drop down includes options to make formatting headings and sub-headings easier!

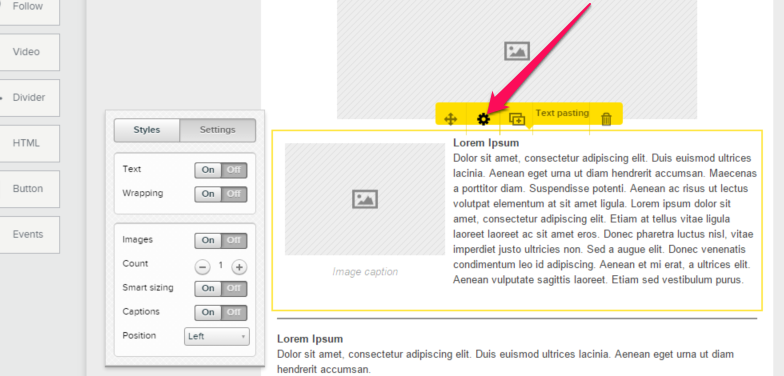
Clicking the yellow bar's gear icon will bring up any styles and settings for that content block. You can adjust things like image quantity and alignment, margin and padding around your image and/or text.
You can also rearrange content blocks by clicking and dragging the 4-way arrow.
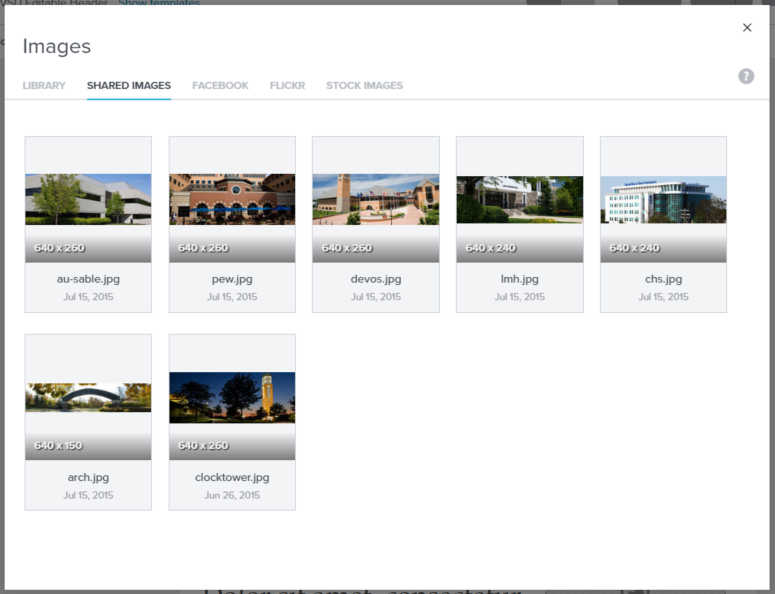
To add an image, click any of the gray placeholder images. You'll have the option to upload an image from your computer, find one in your image library, use a shared image, or even add one from Facebook after linking your profile.
If you're creating your own header image, it will have to be 640 px wide to fit correctly.
Logo Usage
When placing a Grand Valley logo in emails, you must use the blue version of the logo. This ensures proper background contrast in both light and dark viewing modes. Zach has created a video showing which logo file to use, and why it matters.
Full Width Image
To create a full width image, drag an "Image" chunk onto your email and either upload a new image or select one from your photo album. (Remember, images need to be at least 640 pixels wide!) Add your alt tag.
Before hitting the "Save" button, click the "Style" tab.
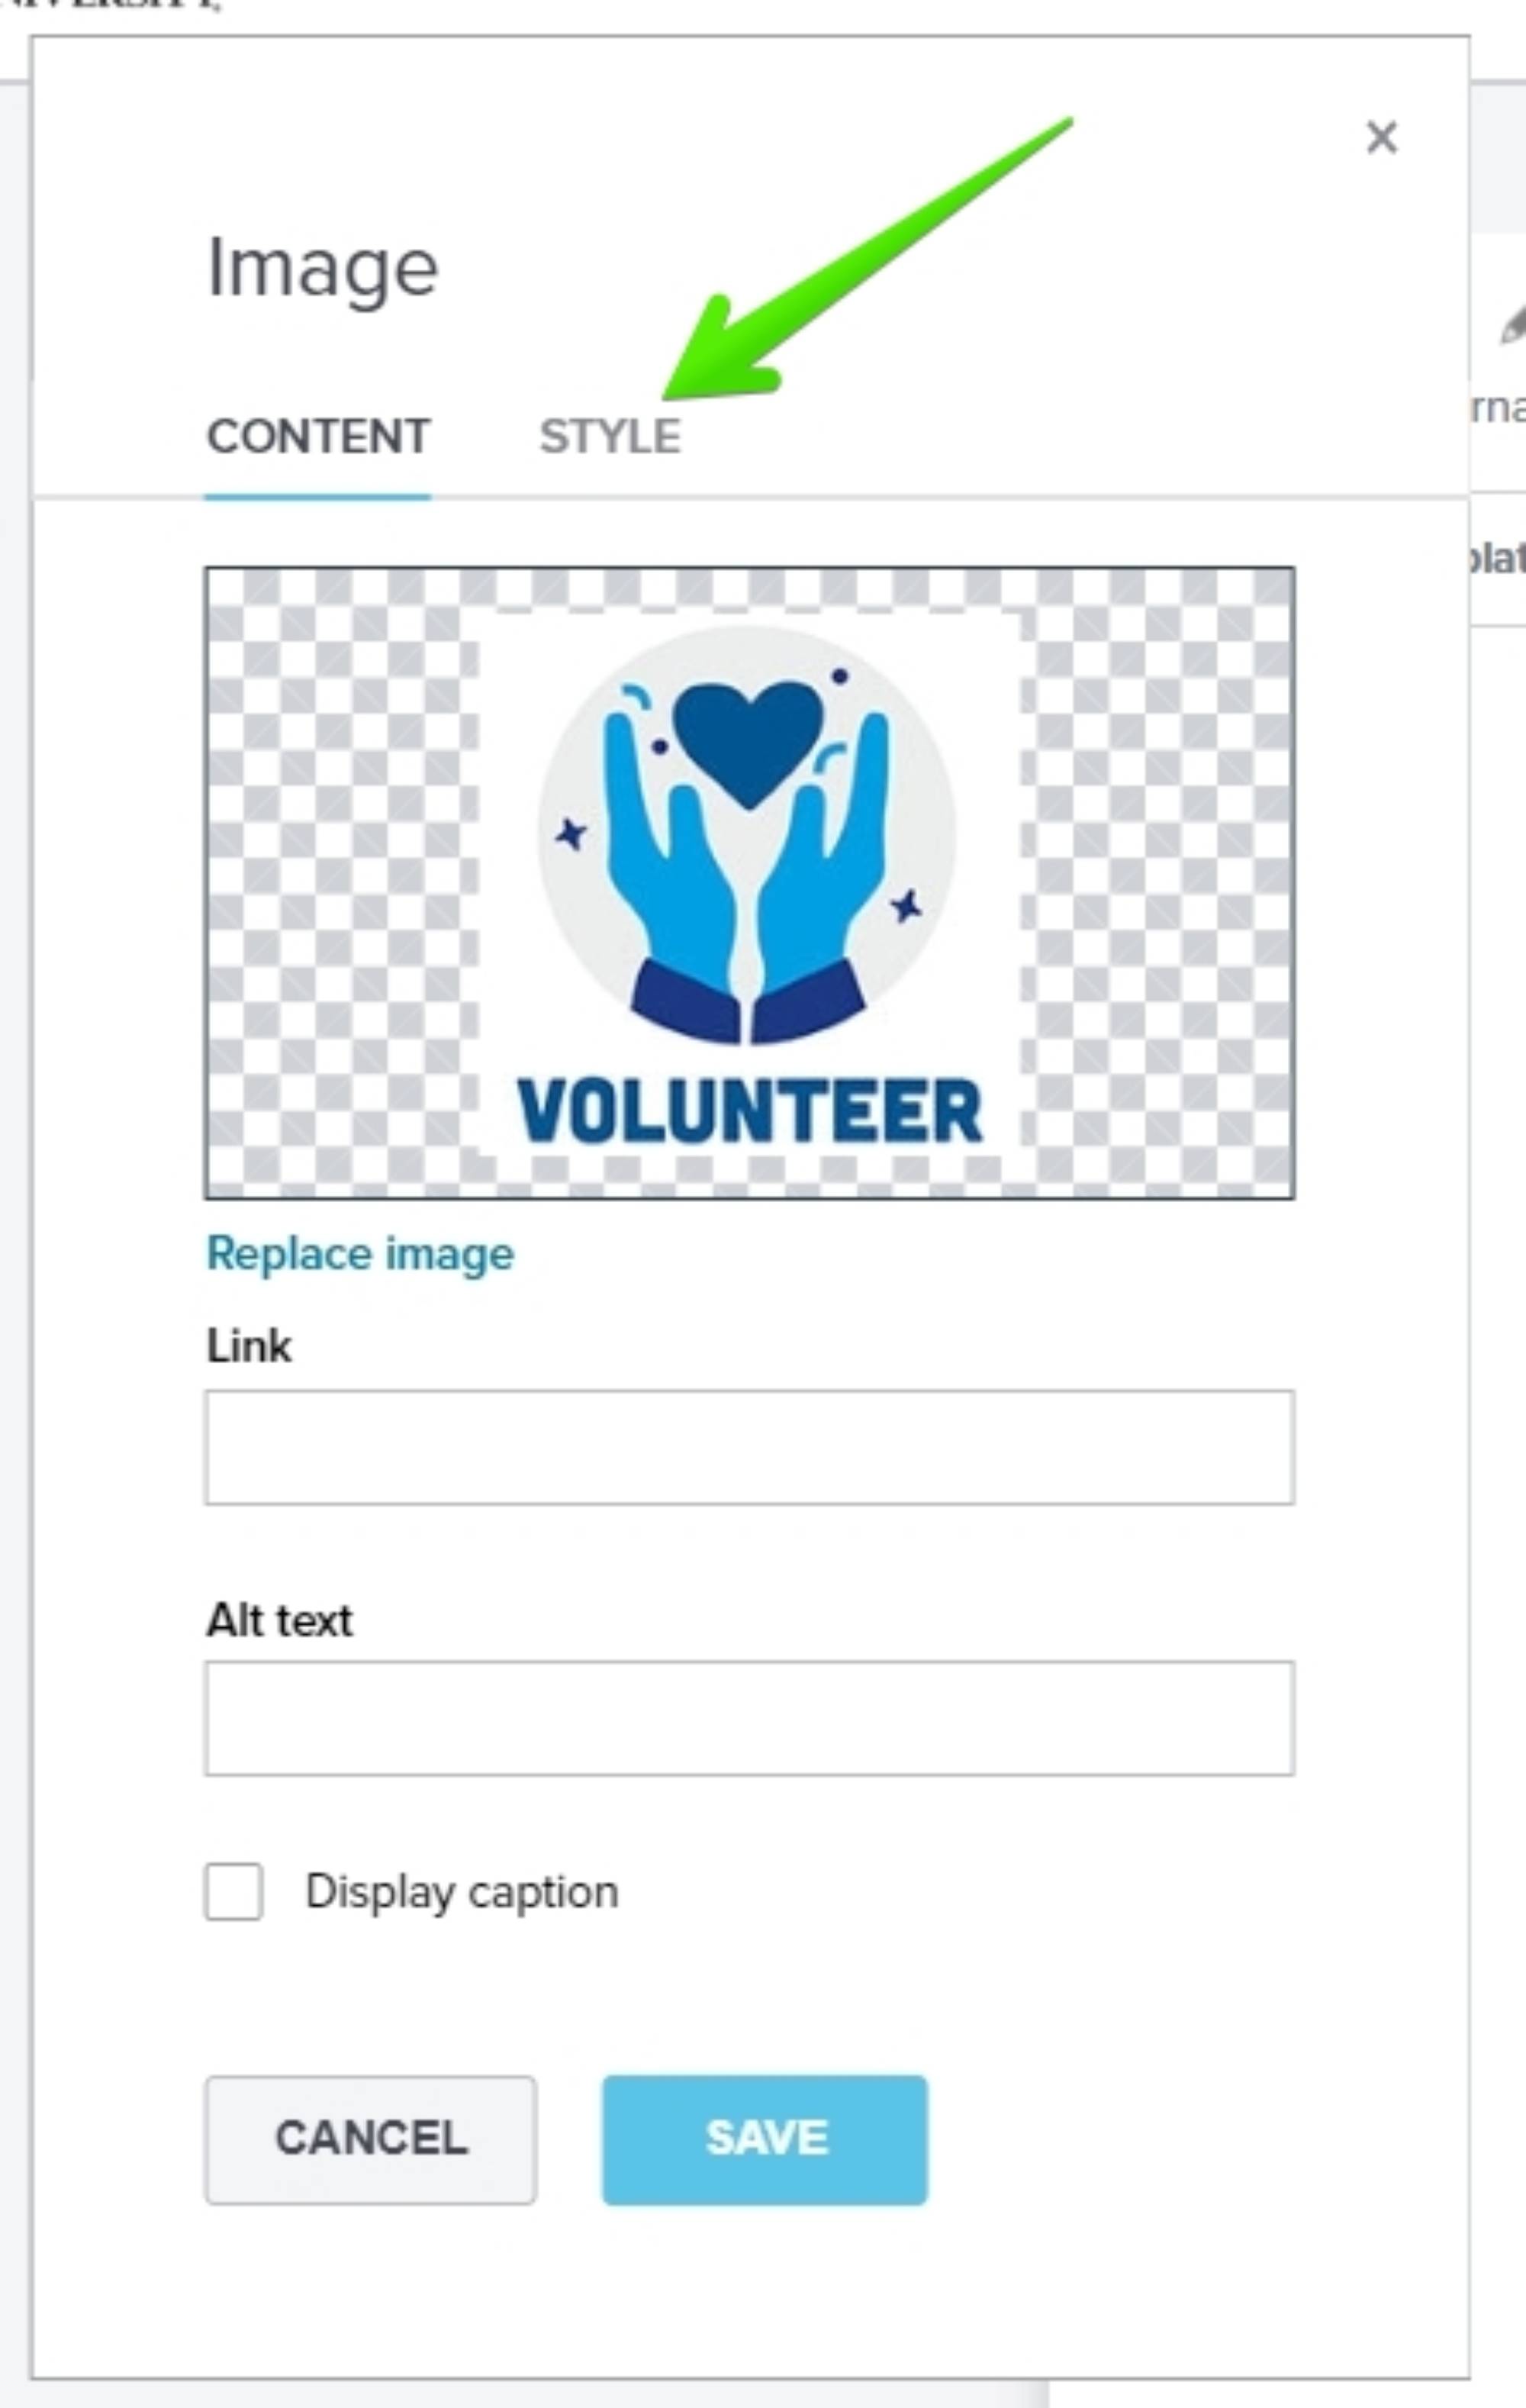
By default, Emma includes a bit of padding (white space) on each side of your image. You'll want to drag the padding slider all the way to the left to remove it. Now the sides of your image should line up with the blue header bar.
If you want to include some white space above and below the image, click the "Customize" button instead. The boxes go in this order: top, right, bottom left -- so if you want to remove white space from the right and left sides, the second and fourth boxes should have 0 in them.

Previewing
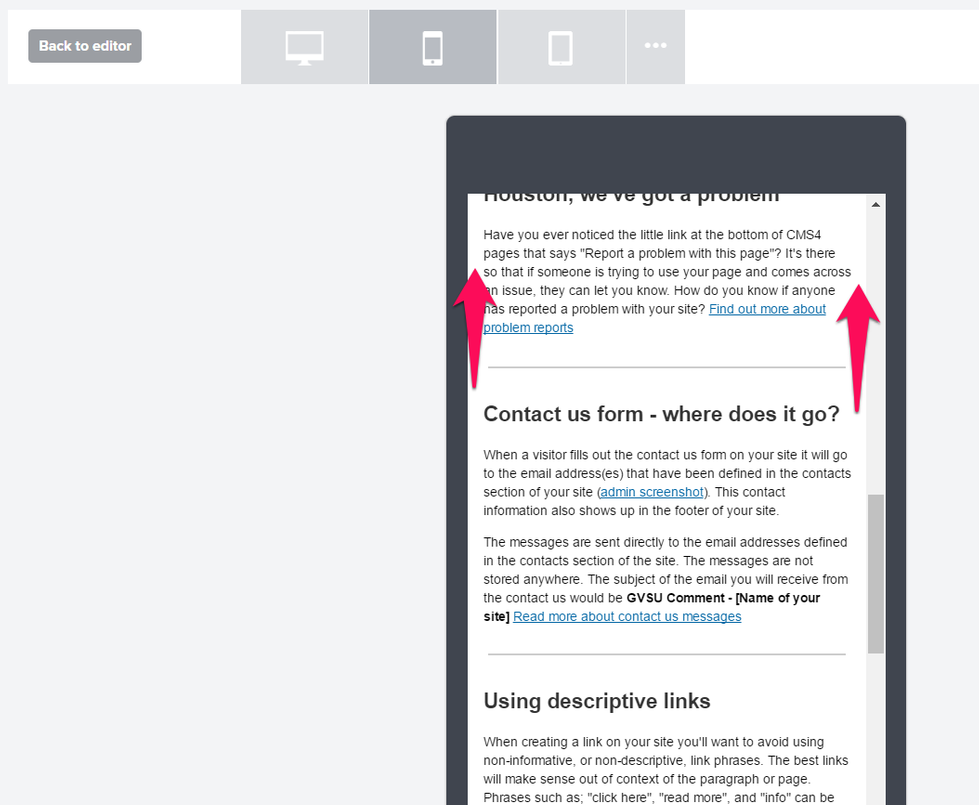
A useful feature in Emma is the ability to preview your email in desktop, mobile, and tablet views. Click the "Preview" button in the toolbar and you'll be able to toggle between desktop, mobile and tablet views.
While in mobile view, please quickly scroll through your entire email and ensure that everything is visible. In other words, that nothing overhangs into the margins on the left or right sides.