How The Address Book Works In Outlook 2016
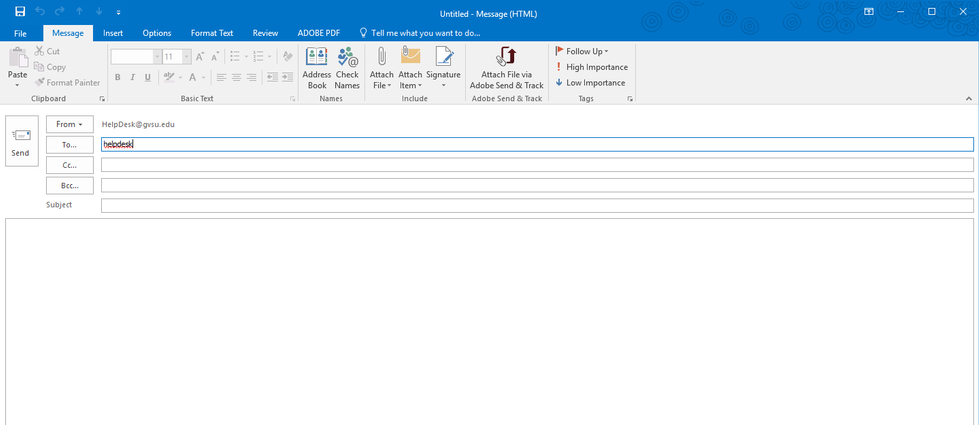
- Valid recipient names are automatically recognized in Outlook after the first time you send or receive an email from that person. The first time sending an email to someone, you can key in a partial (or full) first or last name and then select ‘Check Names’ in the Outlook Ribbon
2. After the ‘Check Names’ icon has been checked, name options will be displayed for selection or if the name is unique, the name will be placed in the ‘To’ box.

3. Select the intended recipient and click ‘OK’:

4. HelpDesk appears in the ‘To…’ box. To add another name click the space bar, or enter a ‘;’ and then begin the process for other recipients.
Note: This process is only needed once for each recipient. The next time you email someone, simply repeat the process in step #1 and the system will find the person for you.