Updating Symantec Virus Definitions
- Click on the little arrow pointing up in the taskbar in the bottom-right of the screen.
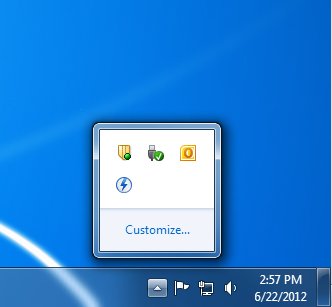
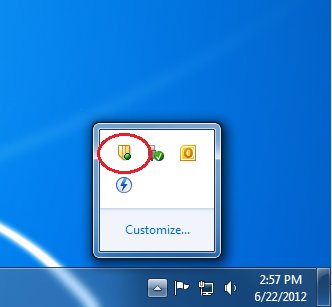
2. From there, a little popup will appear. Double-click the yellow shield icon.
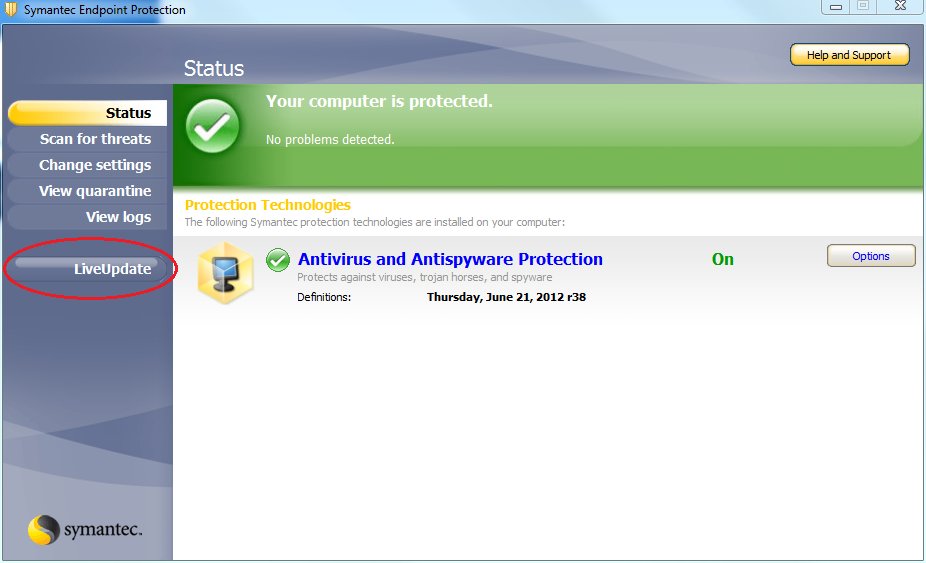
3. A window should appear like the one below.
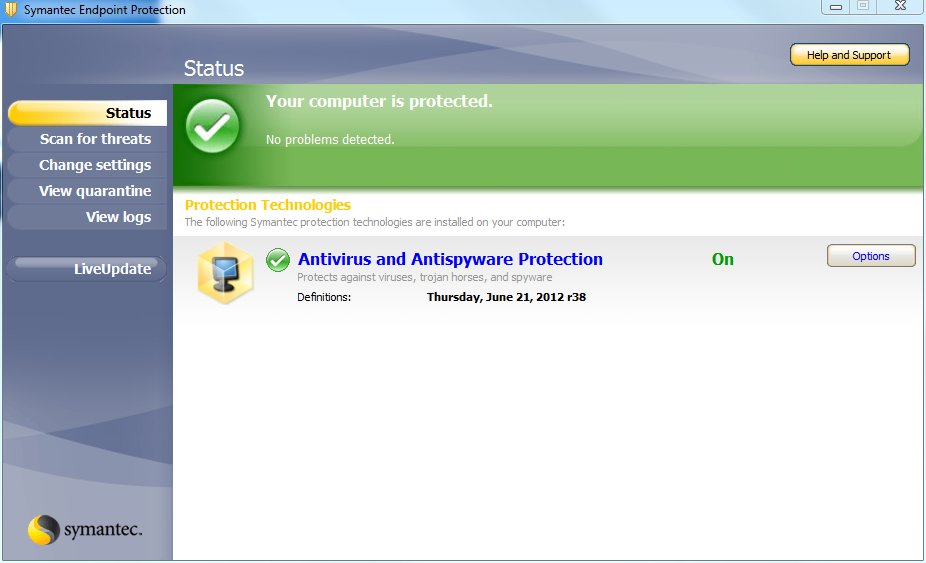
4. Click on the LiveUpdate button to the left of the window.
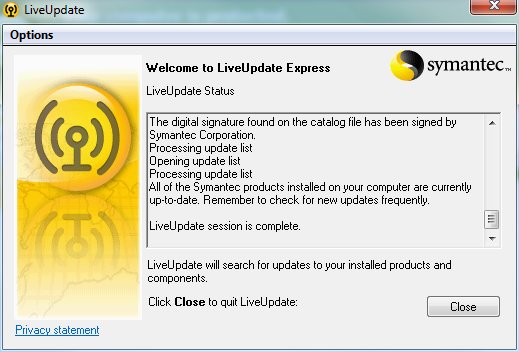
5. LiveUpdate will launch and begin checking for updates. If any updates are available, they will automatically start downloading and installing the updates.
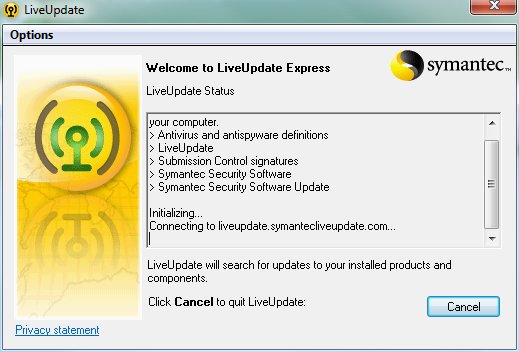
6. When the updates are finished, a screen like the one below will appear. From here you can click the Close button and then the red X in the upper-right corner of the Symantec Window.